G DATA Business Solutions: Installation G DATA Security Client via G DATA Management Server
Installing the G DATA Security Client Windows:
1 |
Launch the G DATA Administrator. |
2 |
Log in to G DATA Administrator with an authorized Windows user (administrator rights) or a user stored in G DATA User Management. |
3 |
For the installation of the G DATA Security Client, the computer must be switched on and the requirements for the remote installation must be fulfilled. |
4 |
Choose Clients in the object selection. |
5 |
Select Windows, Linux, Mac in the object tree. |
6 |
Right-click this object or the desired subgroup. |
7 |
Select Enable client. |
8 |
Now enter the computer name or IP address of the computer on which you want to install the client. Separate multiple recipients with a line break or a space. |
9 |
Click OK. |
10 |
This client now appears as a new active client in the object tree. Now highlight this client and click in the module menu onto Clients and in the module submenu onto Overview. |
11 |
In the module area Overview right-click on the line of the client and select install G DATA Security Client… |
12 |
Select in the client selection G DATA Security Client for Windows. |
||
13 |
Enter a user with administrator rights. This user can be a local administrator of this client or a domain administrator. This user will then be used to perform the installation on the client.
|
||
14 |
Click OK and the installation window opens. Here you can see the installation process in the status column. 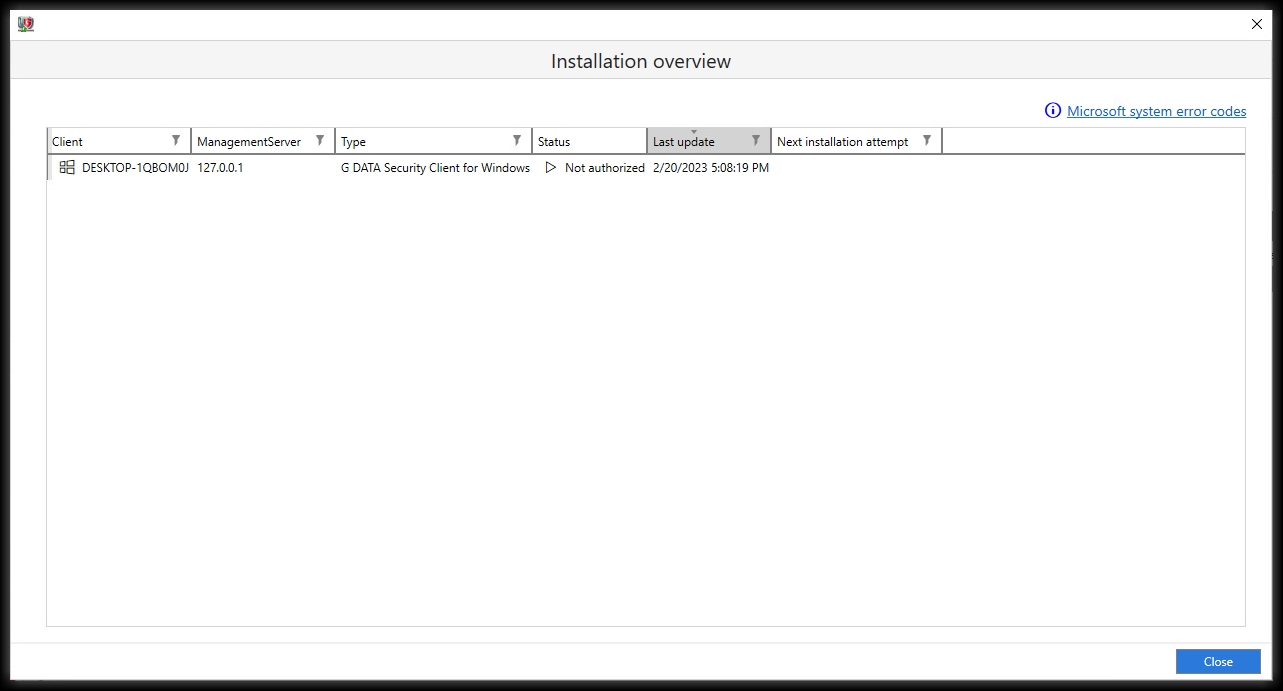
Figure 1. Die Installationsübersicht
|