G DATA 365 | Mail Protection
Users
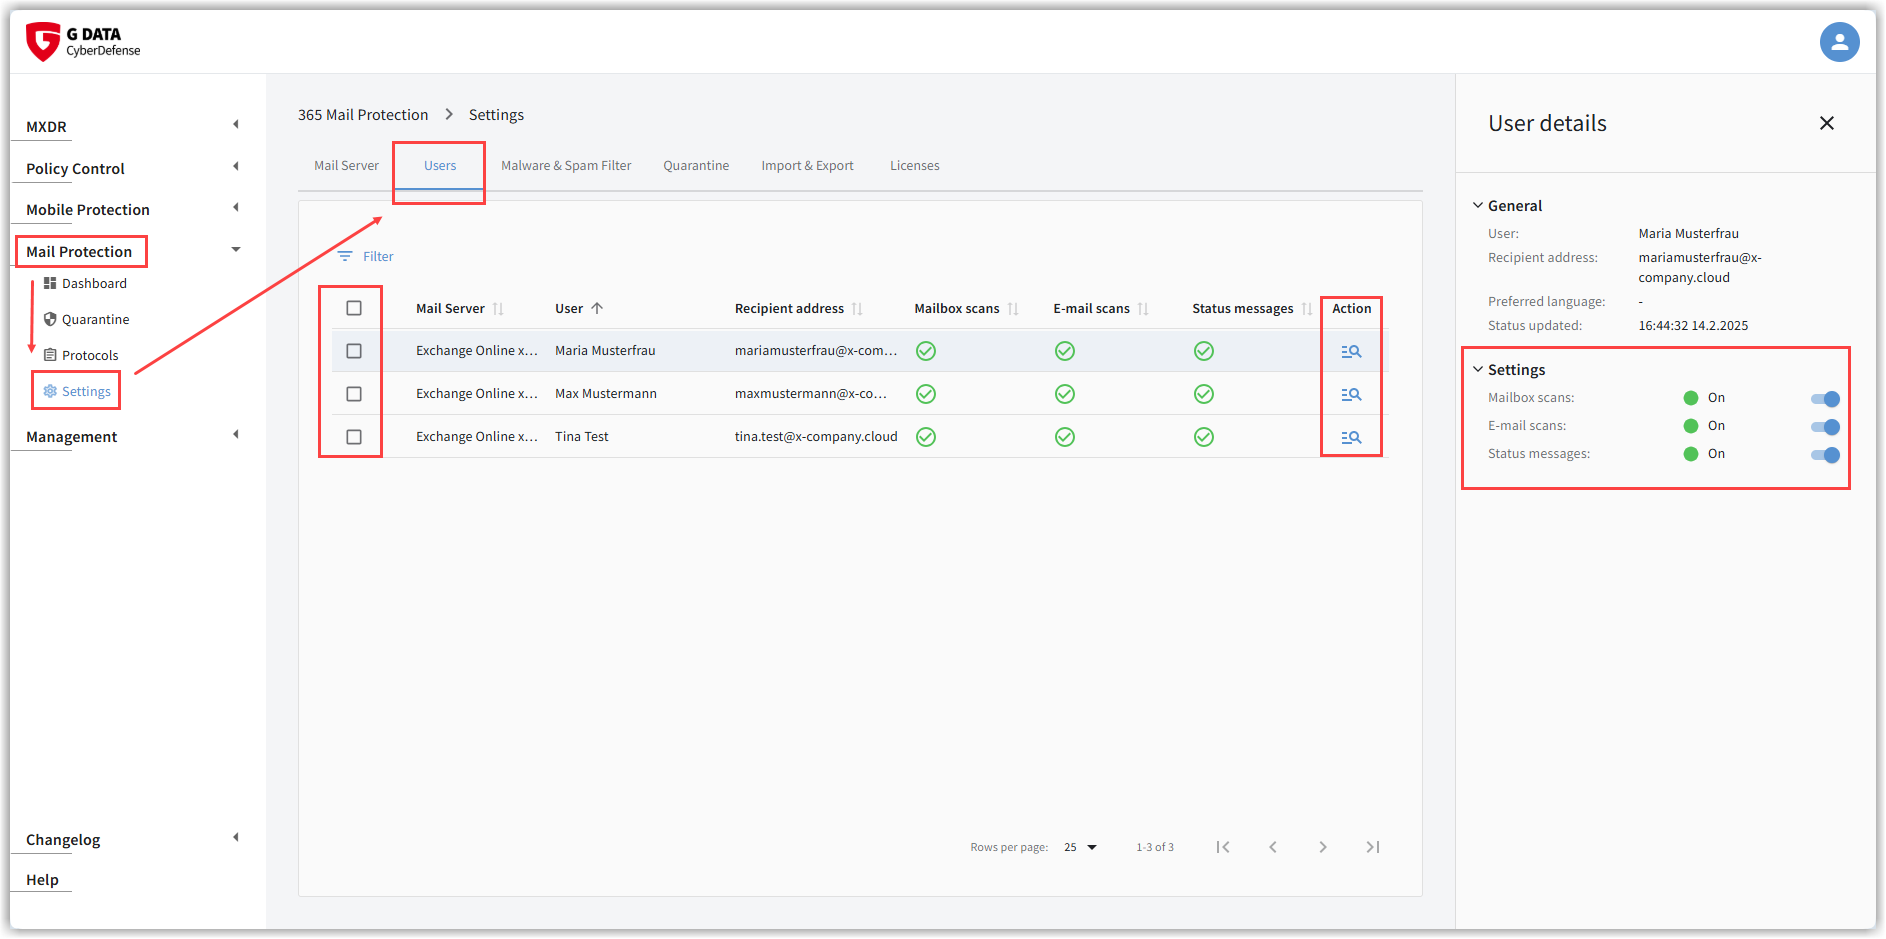
On this page, you will find a list of all synchronized mailboxes.

Configure users individually
Click a user’s row to open the details view.
Here, you can apply the following configurations for this user:
-
Mailbox Scans:
By default, automatic mailbox scans (Rescans and internal emails between employees) are enabled for all users.
If you want to exclude a user’s mailbox from scanning, you can disable these functions here. -
External Email Scans:
Once email sending has been set up via G DATA 365 | Mail Protection, all incoming emails for the mailboxes are scanned by G DATA 365 | Mail Protection.
If you want to exclude a user’s mailbox from this incoming email scan, you can disable it here. -
Status Messages
If you have enabled Status Messages in the quarantine settings, all users are informed about their filtered emails in quarantine.
Here, you can disable this notification for individual users.
|
In this context, pay attention to the icons in the If message sending has been enabled globally in the quarantine settings, you will see a green check mark here for active message sending in the individual user configuration, or a red exclamation mark for disabled message sending. However, if the icons are grayed out, this means that no global sending is enabled. Therefore, NO emails are sent! 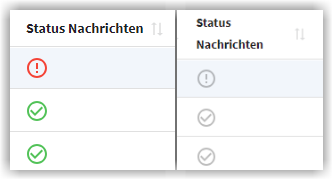
|
Configure multiple users
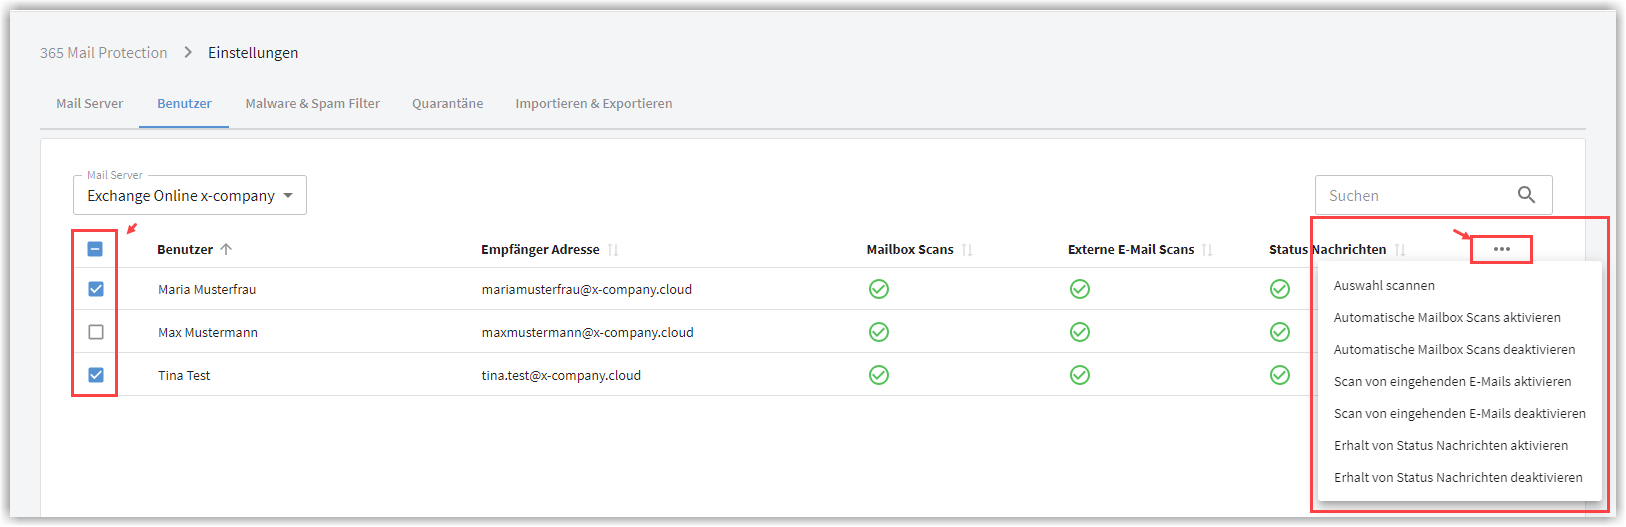
You can apply one of the configurations described in the previous chapter to multiple users at the same time by checking the boxes beside the user names and selecting the desired action from the drop-down menu below the three-dot menu:
Scan individual users’ mailboxes
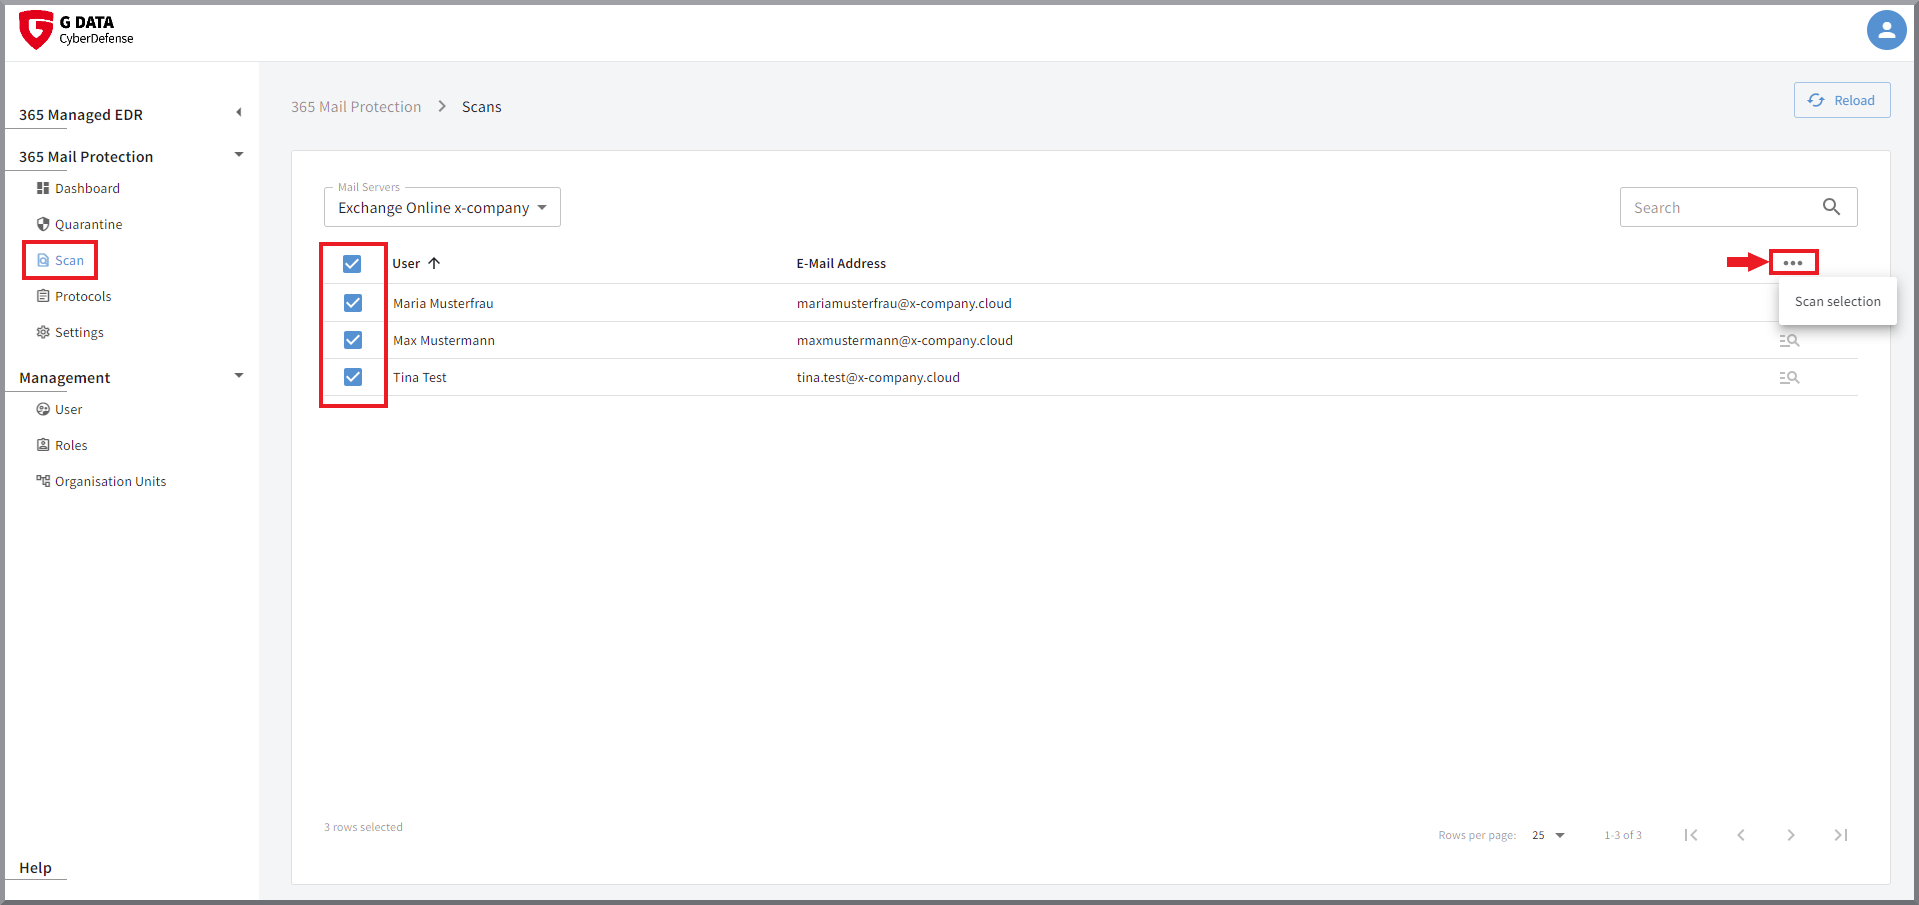
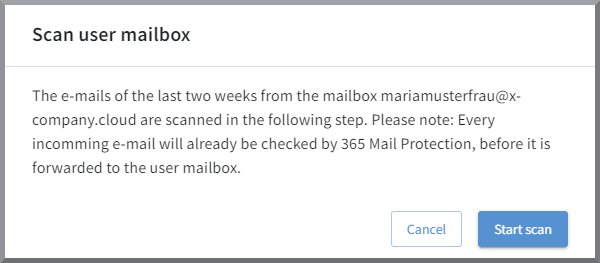
In addition to automatic Rescans, you can manually scan the emails from the last 14 days in the mailboxes of one or more recipients here.
Click  in the mailbox row
to manually run the scan of the last 14 days of emails for one recipient.
in the mailbox row
to manually run the scan of the last 14 days of emails for one recipient.
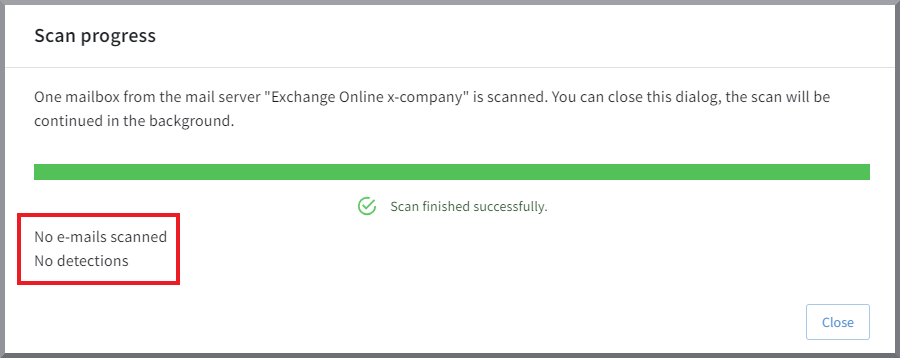
After the scan is complete, the results are displayed, and the individual operations are also recorded in the Log. There, you can see which emails the Detections relate to.
Show screenshot
| Only one scan job can be processed at a time. If you receive the error message, "a mail server is already being scanned," you can open the ongoing scan job using the button Show Running Scans. |
You can scan multiple recipients’ mailboxes by checking the boxes in front of the desired mailboxes. The job to scan all selected mailboxes is started via the three-dot menu above the last column. The dots appear there as soon as you have checked a box.