G DATA 365 | Mail Protection
Assign a certificate to G DATA 365 | Mail Protection.
To secure communication between G DATA 365 | Mail Protection and Microsoft Exchange Online, we recommend using a certificate. For security, a certificate with a public key and a private key is required.
| The file containing the public key is stored in your Microsoft Entra Admin Portal for G DATA 365 | Mail Protection; the private key is stored in your G DATA Web Portal. |
Creating a self-signed certificate with PowerShell on Windows
1. |
On your local computer, open PowerShell with administrative privileges. |
||||||
2. |
Use cd to switch to the C:\ directory and enter the following command: We have given the certificate the name MailProtection. You can change this name, as it can be freely assigned.
|
||||||
3. |
Export the public key to a location from which you can upload the files later using the following command:
|
||||||
4. |
Assign a password for the private key using the following command:
|
||||||
5. |
Export the private key to a location from which you can upload the files later using the following command:
|
||||||
6. |
Now use these commands to delete the two certificates from your computer’s personal certificate store. The certificate is not required here. Retrieve the thumbprint of the certificate in the store: Get-ChildItem -Path "Cert:\CurrentUser\My" | Where-Object {$_.Subject -Match "MailProtection"} | Select-Object Thumbprint, FriendlyName
Delete the certificate using the thumbprint:
|
Upload the certificate for G DATA 365 | Mail Protection in the Microsoft Entra Admin Portal
1. |
|
2. |
Under Applications > App registrations > G DATA Mail Protection, click Add a certificate or secret. Screenshot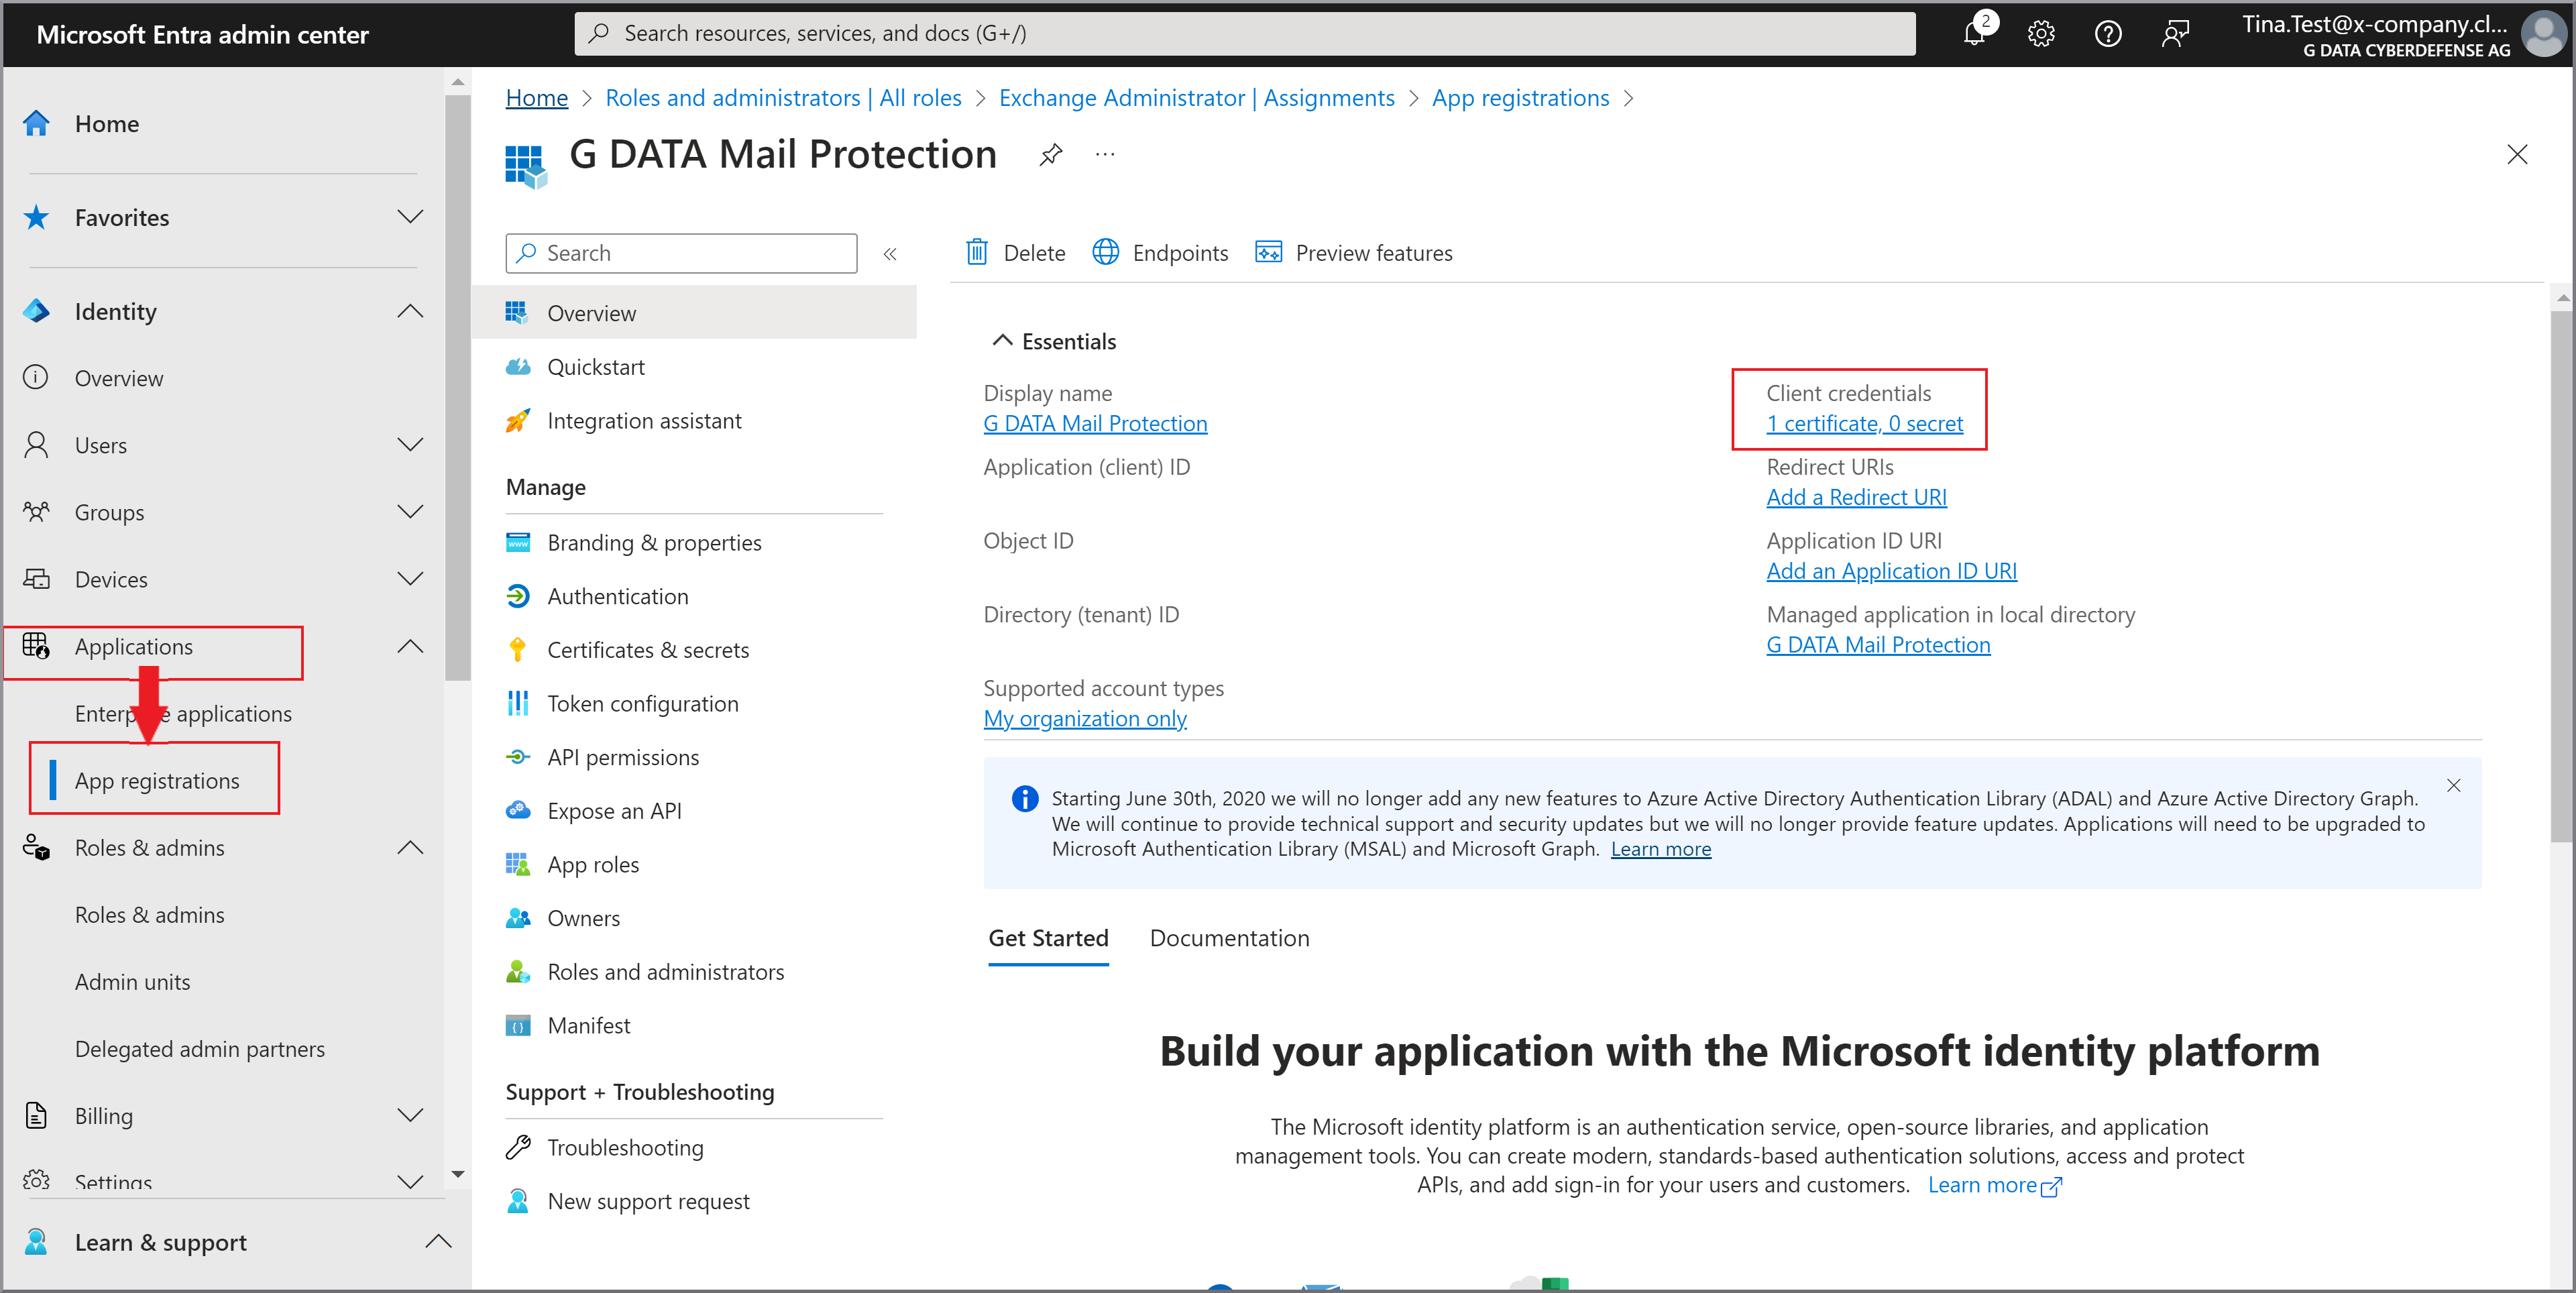
|
3. |
Click Certificates and then click Upload certificate. Screenshot
|
4. |
Upload the certificate you created from the location where you saved it when you created it. Screenshot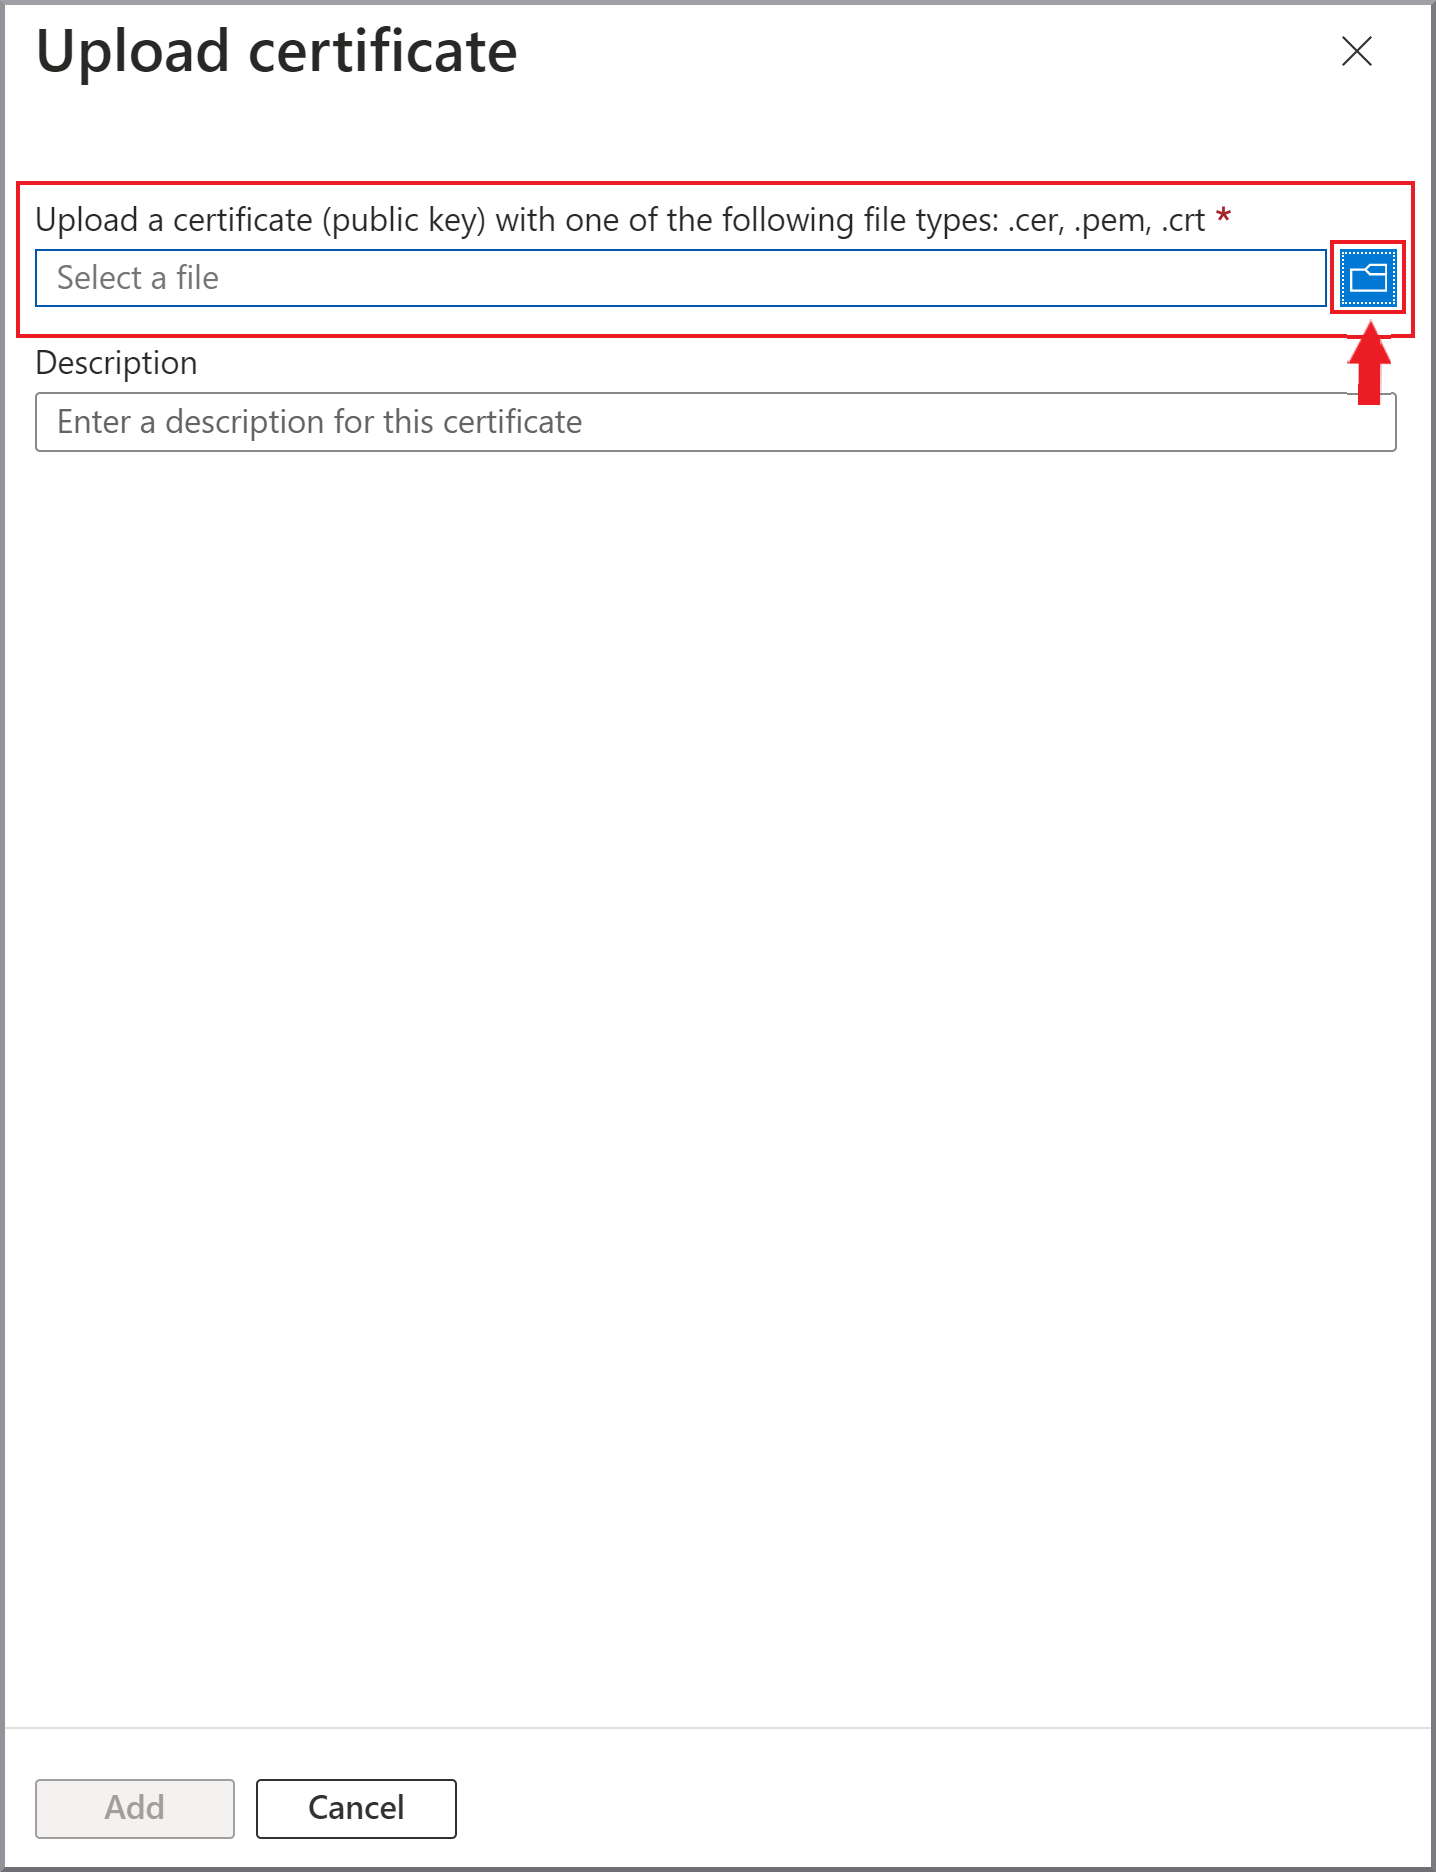
|
5. |
Enter a short description and click Add |