G DATA MXDR
Installing Agents on Windows endpoints
The Agent is installed on Windows endpoints for single installations either via GUI or via the command line. At larger scale, the Agent can be deployed via script, for example via a Group Policy. Starting at service level G7, our G DATA Security Operations Team can support you if required.
| You can obtain a setup file as well as the required Setup ID in the G DATA Web-Portal in the "New endpoint installation" view. |
| If you want to install the G DATA Agent on an ARM architecture, Windows 11 is mandatory! |
|
Important information on using templates. The G DATA Agent must not be installed on system images/templates that are then used for cloning on other systems. The installation of the G DATA Agent must always be performed after a cloning process to ensure unique identification of Incidents. |
|
If you have installed the G DATA Security Client, uninstall it first and restart the system before installing the G DATA Agent. |
Installing the .msi file
If you prefer a graphical user interface during installation, either double-click the .msi file
or do not use the "/exenoui" or "/qn" parameters when calling msiexec.exe.
Then follow the instructions in the GUI.
1 |
Download the desired installation file in the "New endpoint installation" view. |
||
2 |
Open Command Prompt with administrative privileges. |
||
3 |
Change to the directory where the setup file is located. |
||
4 |
You have two options to start the installation command: directly via the .msi installation file or via the msiexec.exe. Call via msiexec.exe: Call with the .msi installation file: In both cases, replace "guid" with your Setup ID.
|
||
5 |
Confirm the input; the Agent will now be installed on the system. Restart the computer to complete the installation. |
Installing with the .exe file
| The installation described below is deprecated (obsolete). We recommend selecting the method described above. |
GUI installation
1 |
Download the desired installation file in the "New endpoint installation" view. |
|
2 |
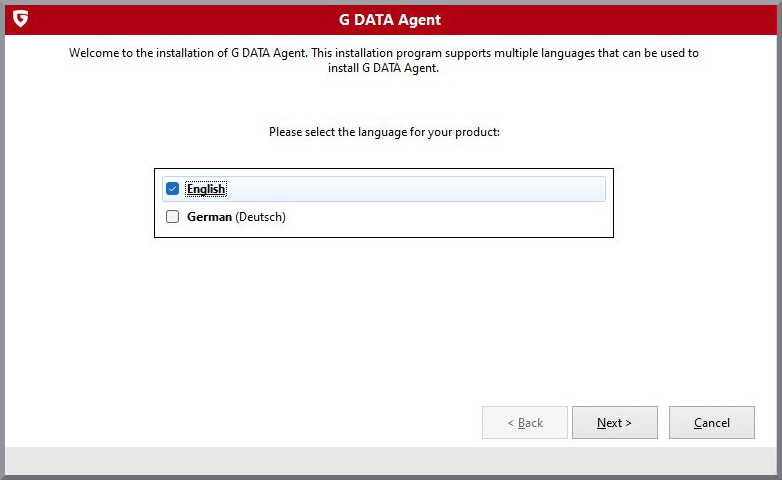
Open the installation file and select the desired language. |
|
3 |
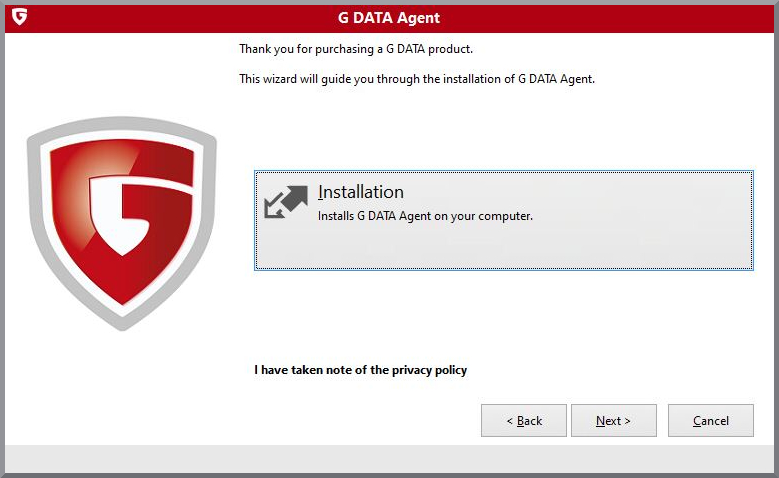
Select Installation. |
|
4 |
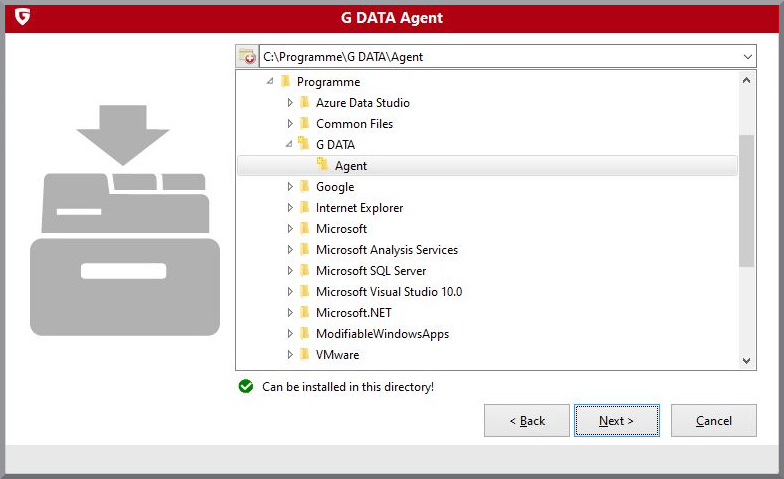
Select a destination folder for the installation. |
|
5 |
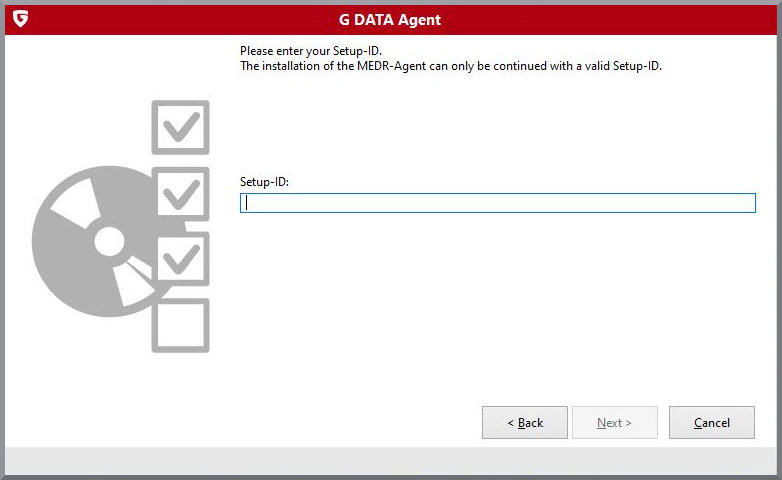
Enter the Setup ID that you received from G DATA. It is available in the G DATA Web-Portal in the "New endpoint installation" view. |
|
6 |
After you enter the Setup ID, the Agent is installed on the system. You can still configure the G DATA Agent, for example to set proxy settings. How to do this is explained here. Restart the computer to complete the installation. |
|
Command-line installation
1 |
Download the desired installation file in the "New endpoint installation" view. |
2 |
Open Command Prompt with administrative privileges. |
3 |
Change to the directory where the setup file is located. |
4 |
Start the setup with the following command: Replace ????????-????-????-???????????? with your Setup ID. It is available in the G DATA Web-Portal in the "New endpoint installation" view. |
5 |
Confirm the input; the Agent will now be installed on the system. You can still configure the G DATA Agent, for example to set proxy settings. How to do this is explained here. Restart the computer to complete the installation. |
Accessibility of the G DATA cloud
To ensure reliable and timely alerting of events and Incidents, the G DATA Cloud must be reachable and must not be blocked by a firewall. The settings listed below are required for this. It must be ensured that *.gdatasecurity.de and *.gdatasoftware.com can be resolved via DNS and are reachable.
-
Port openings
-
The G DATA agents on the Endpoints must be able to reach the IPs of our backend servers via port TCP/443, IP range 194.156.84.0/22 (194.156.84.0 - 194.156.87.255).
-
-
Protocols
-
The systems must be able to communicate using the HTTPS:// and WSS:// protocols.
-
-
TLS
-
Deployed proxy servers must support at least TLS 1.2.
-
SSL Inspection or Deep Packet Inspection must not be enabled.
-
It must be possible to establish a TLS-encrypted connection to chess.gdatasecurity.de. For this, an appropriate root certificate must be available.
-