G DATA XDR
Installation des G DATA Agenten auf macOS-Systemen
Installation on macOS systems can be performed either via a GUI or via the command line.
| If you have the G DATA Security Client installed, uninstall it before installing and using the Agent. |
|
For unique identification, the FQDN of the system on which the G DATA Agent is to be installed is used. Please ensure that on the macOS system, the HostName (not ComputerName or LocalHostName!) is set accordingly. |
|
Important information on using templates. The G DATA Agent must not be installed on system images/templates that are then used for cloning on other systems. The installation of the G DATA Agent must always be performed after a cloning process to ensure unique identification of Incidents. |
Installation via GUI
1 |
Download the installation file either from the G DATA Web Portal in the view "Installing New Endpoints", or via direct download here. |
|||
2 |
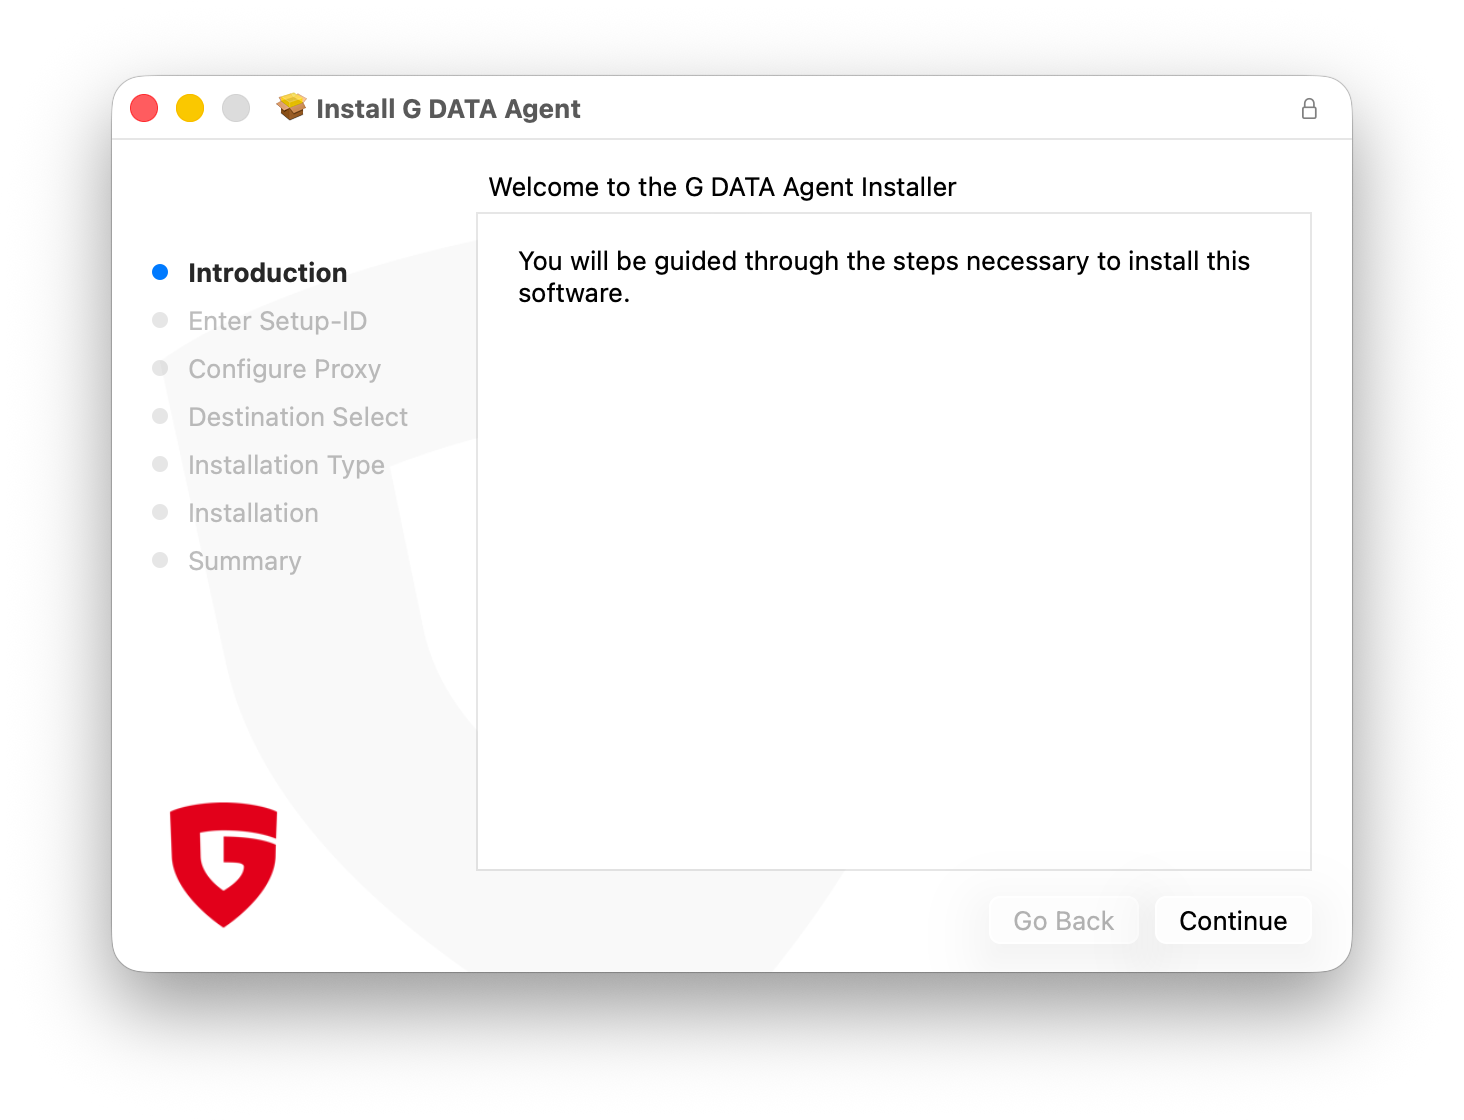
Click the installation file and run it. |
|
||
3 |
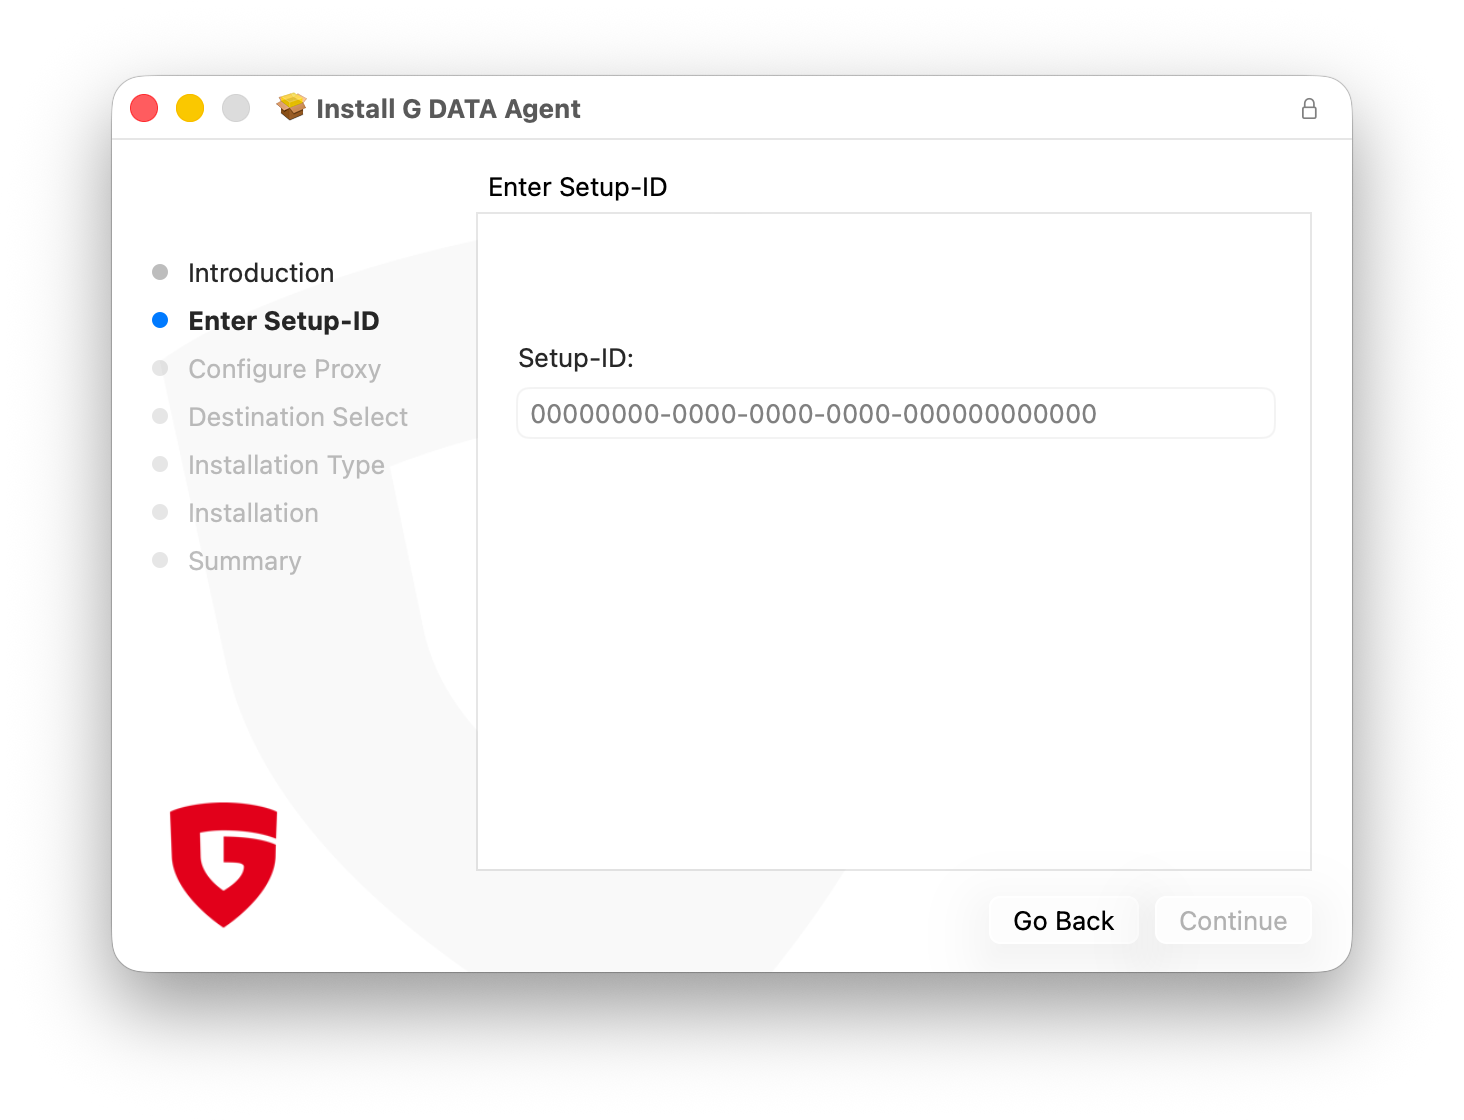
Enter the Setup ID. You can view it in the G DATA Web Portal in the view "Installing New Endpoints". |
|
||
4 |
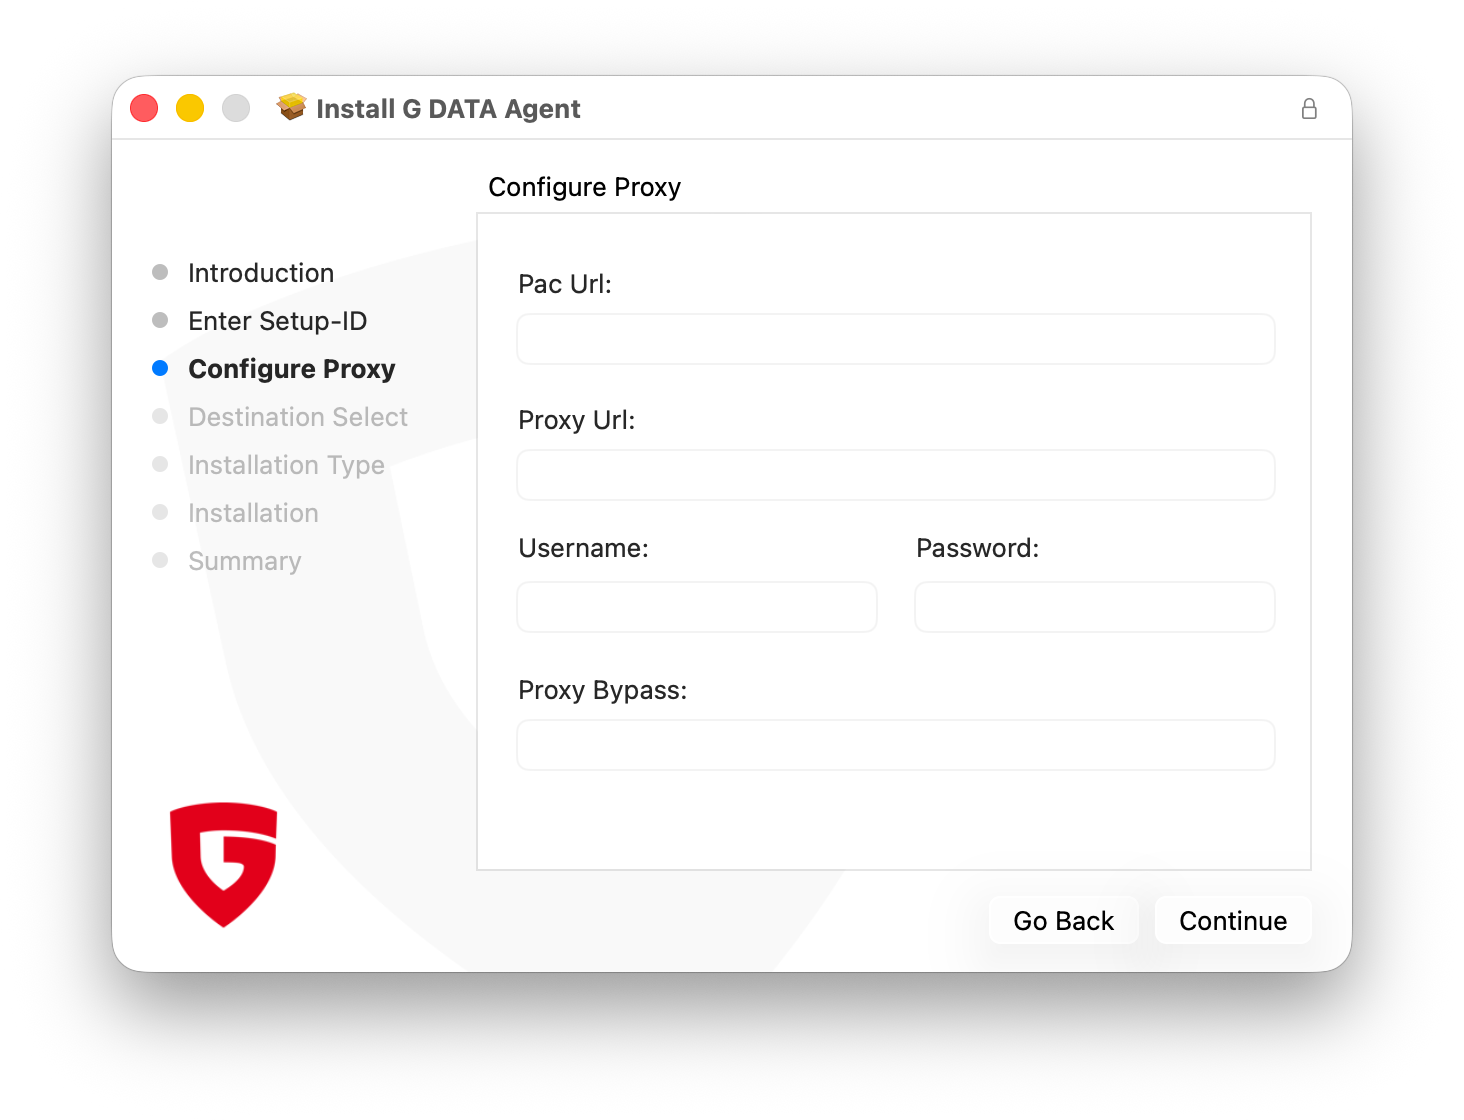
You can then optionally configure a proxy server. If you do not use a proxy server, leave the fields empty. |
|
||
5 |
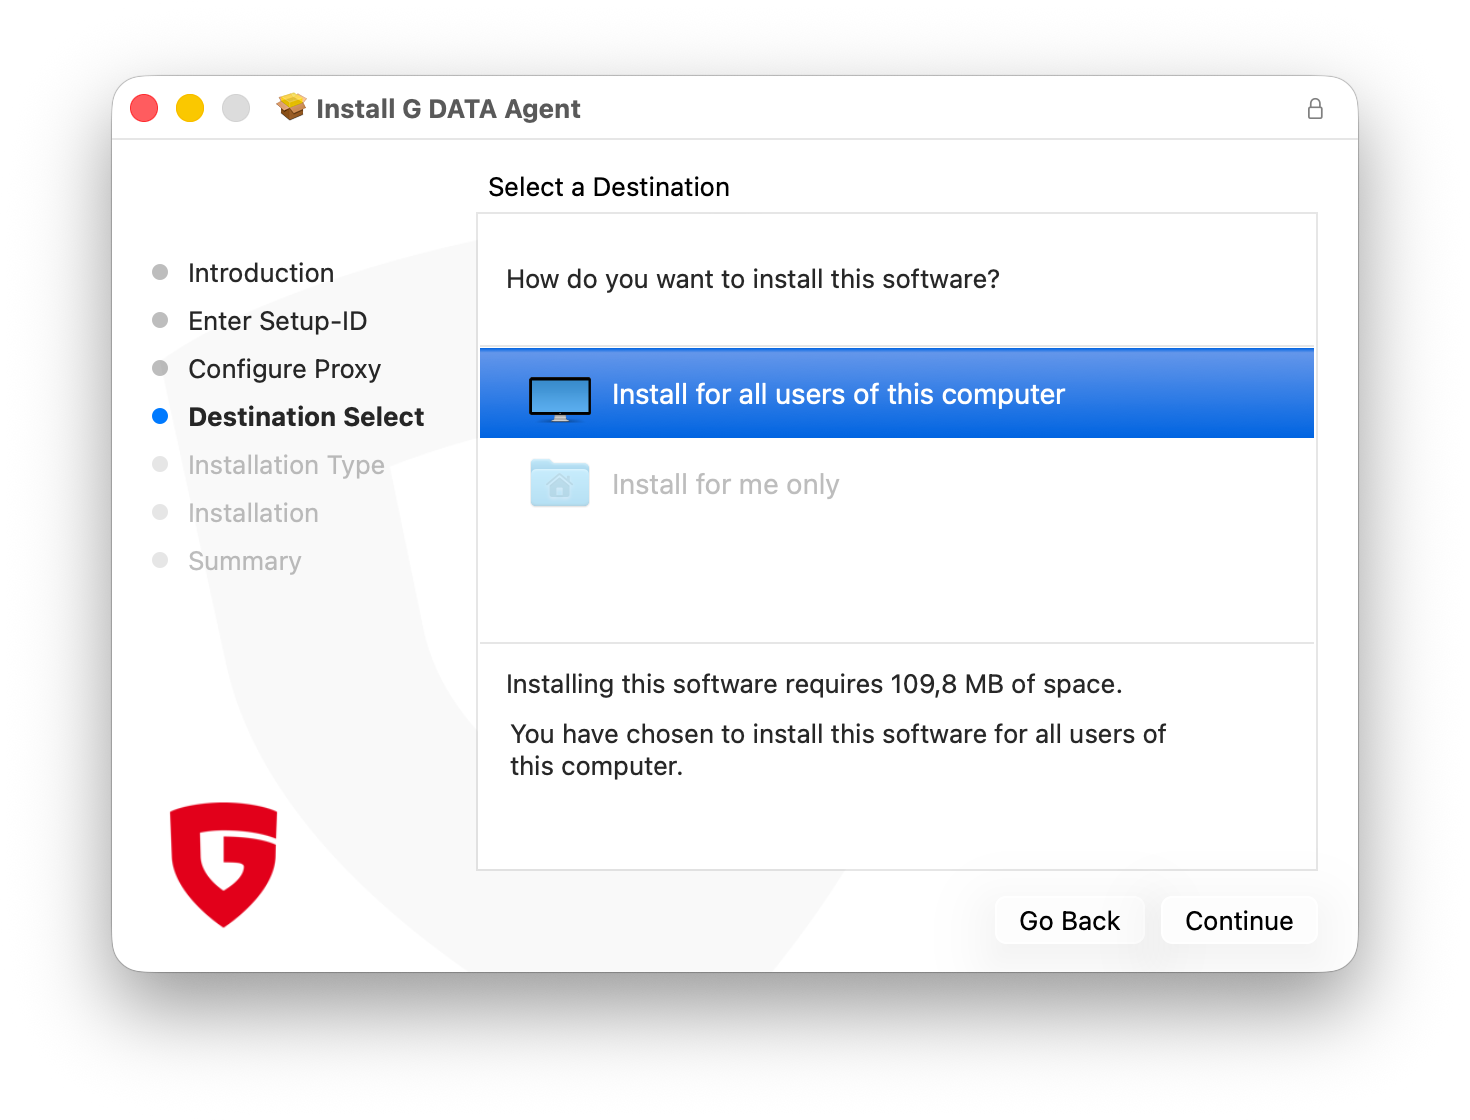
Next, select for which users the installation should be performed. Due to the nature of the software, it is only possible to install the Agent for all users. Click Continue. |
|
||
6 |
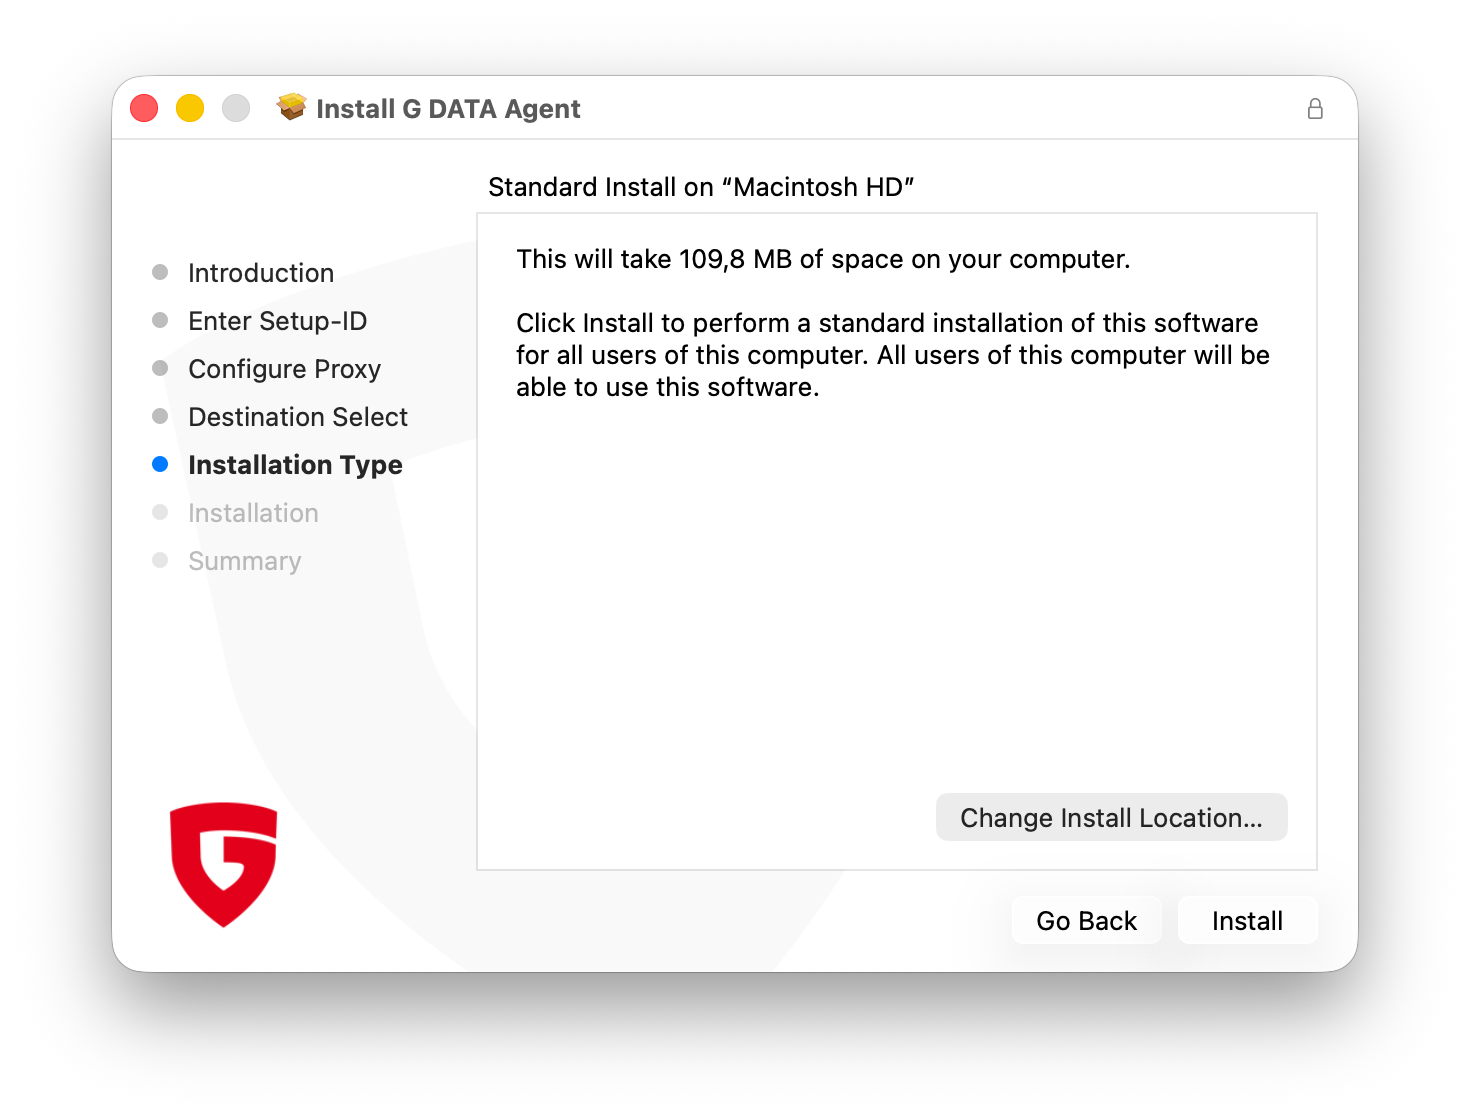
After that, the volume on which the installation is performed must be selected. As in the previous step, there is also no selection option here. Click Install.
|
|
||
7 |
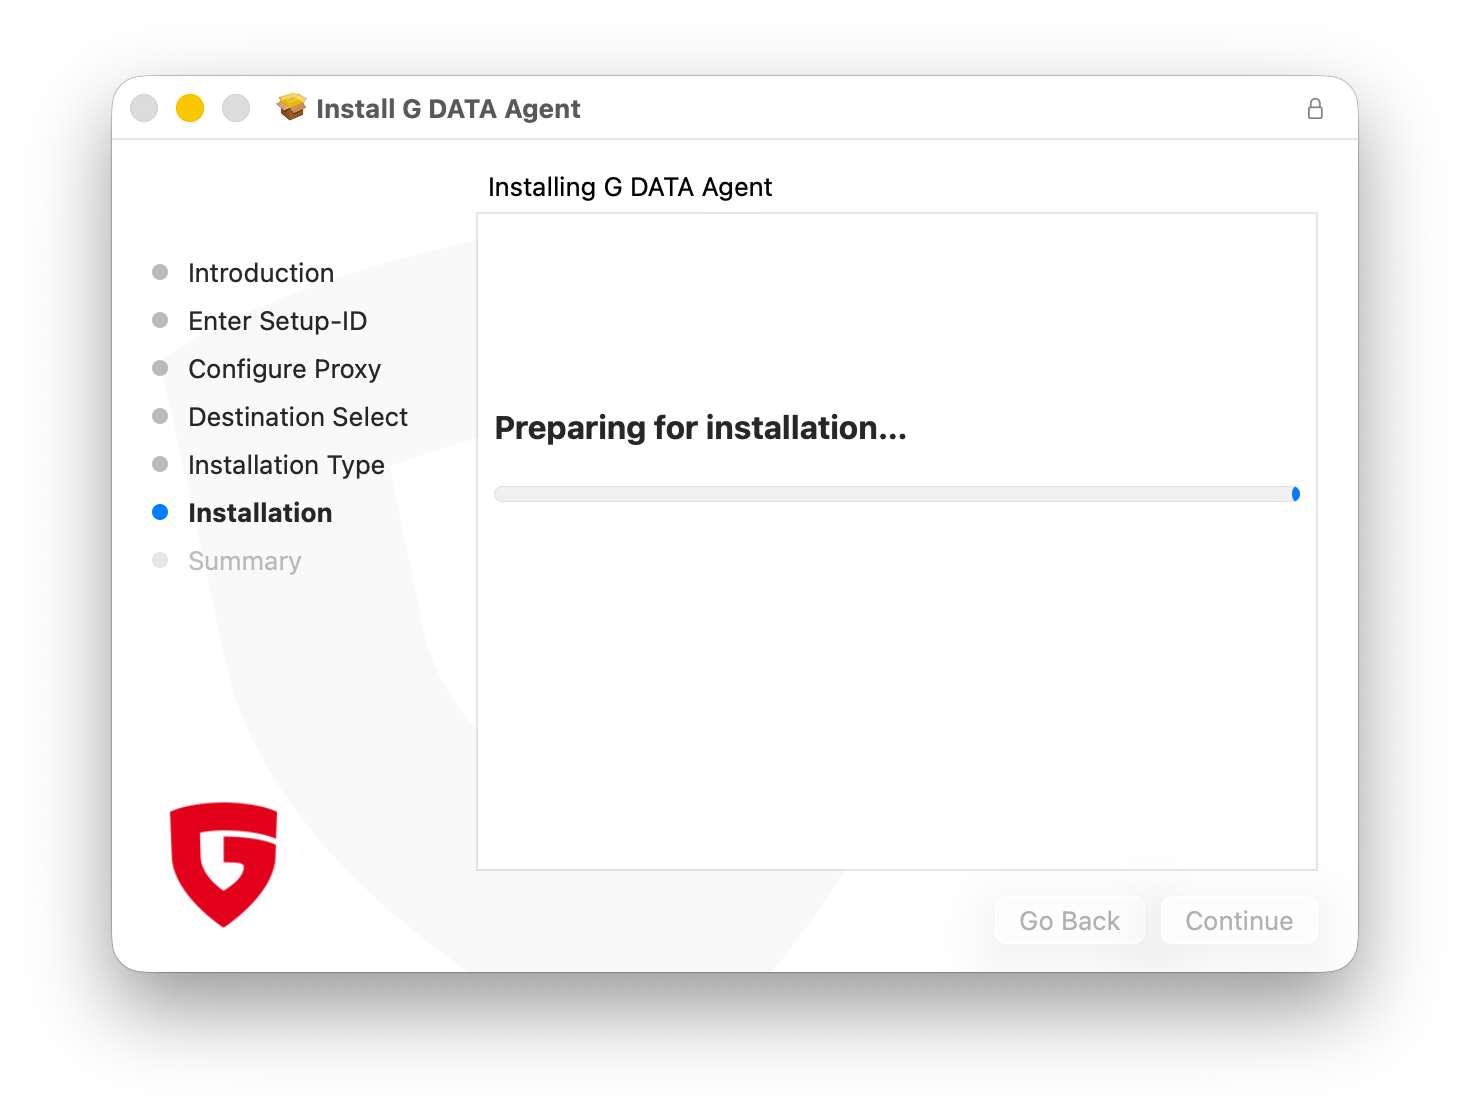
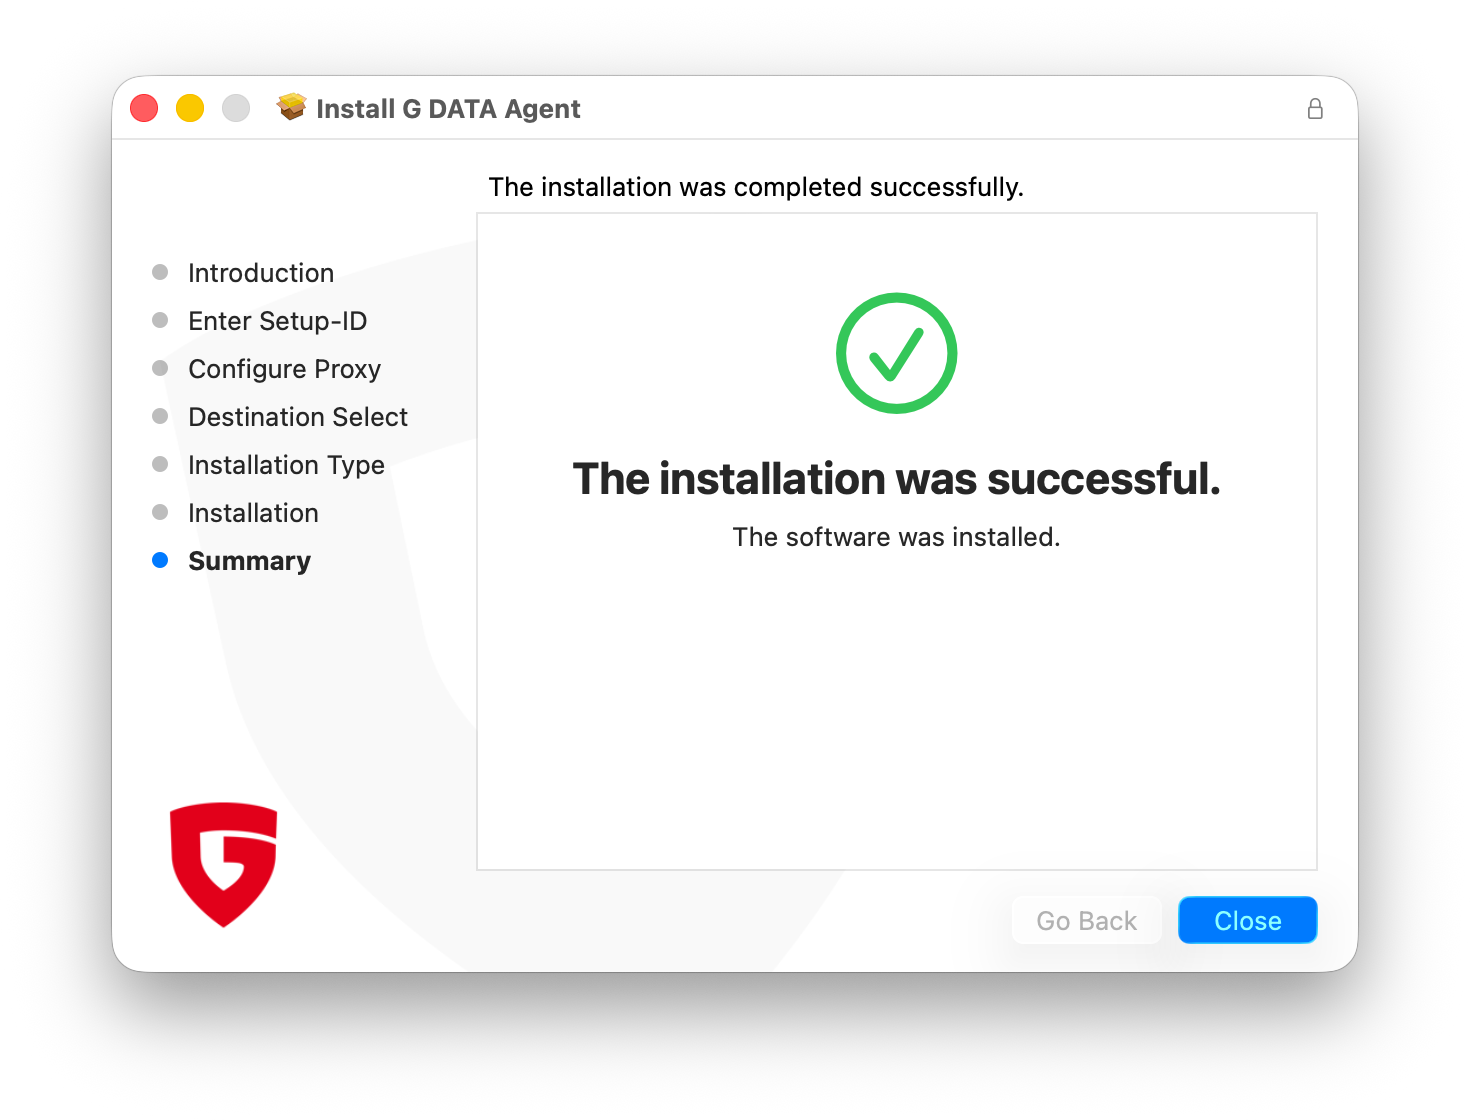
The installation process now starts. After the installation has completed successfully, you will receive confirmation that the Agent was installed successfully. |
|
||
8 |
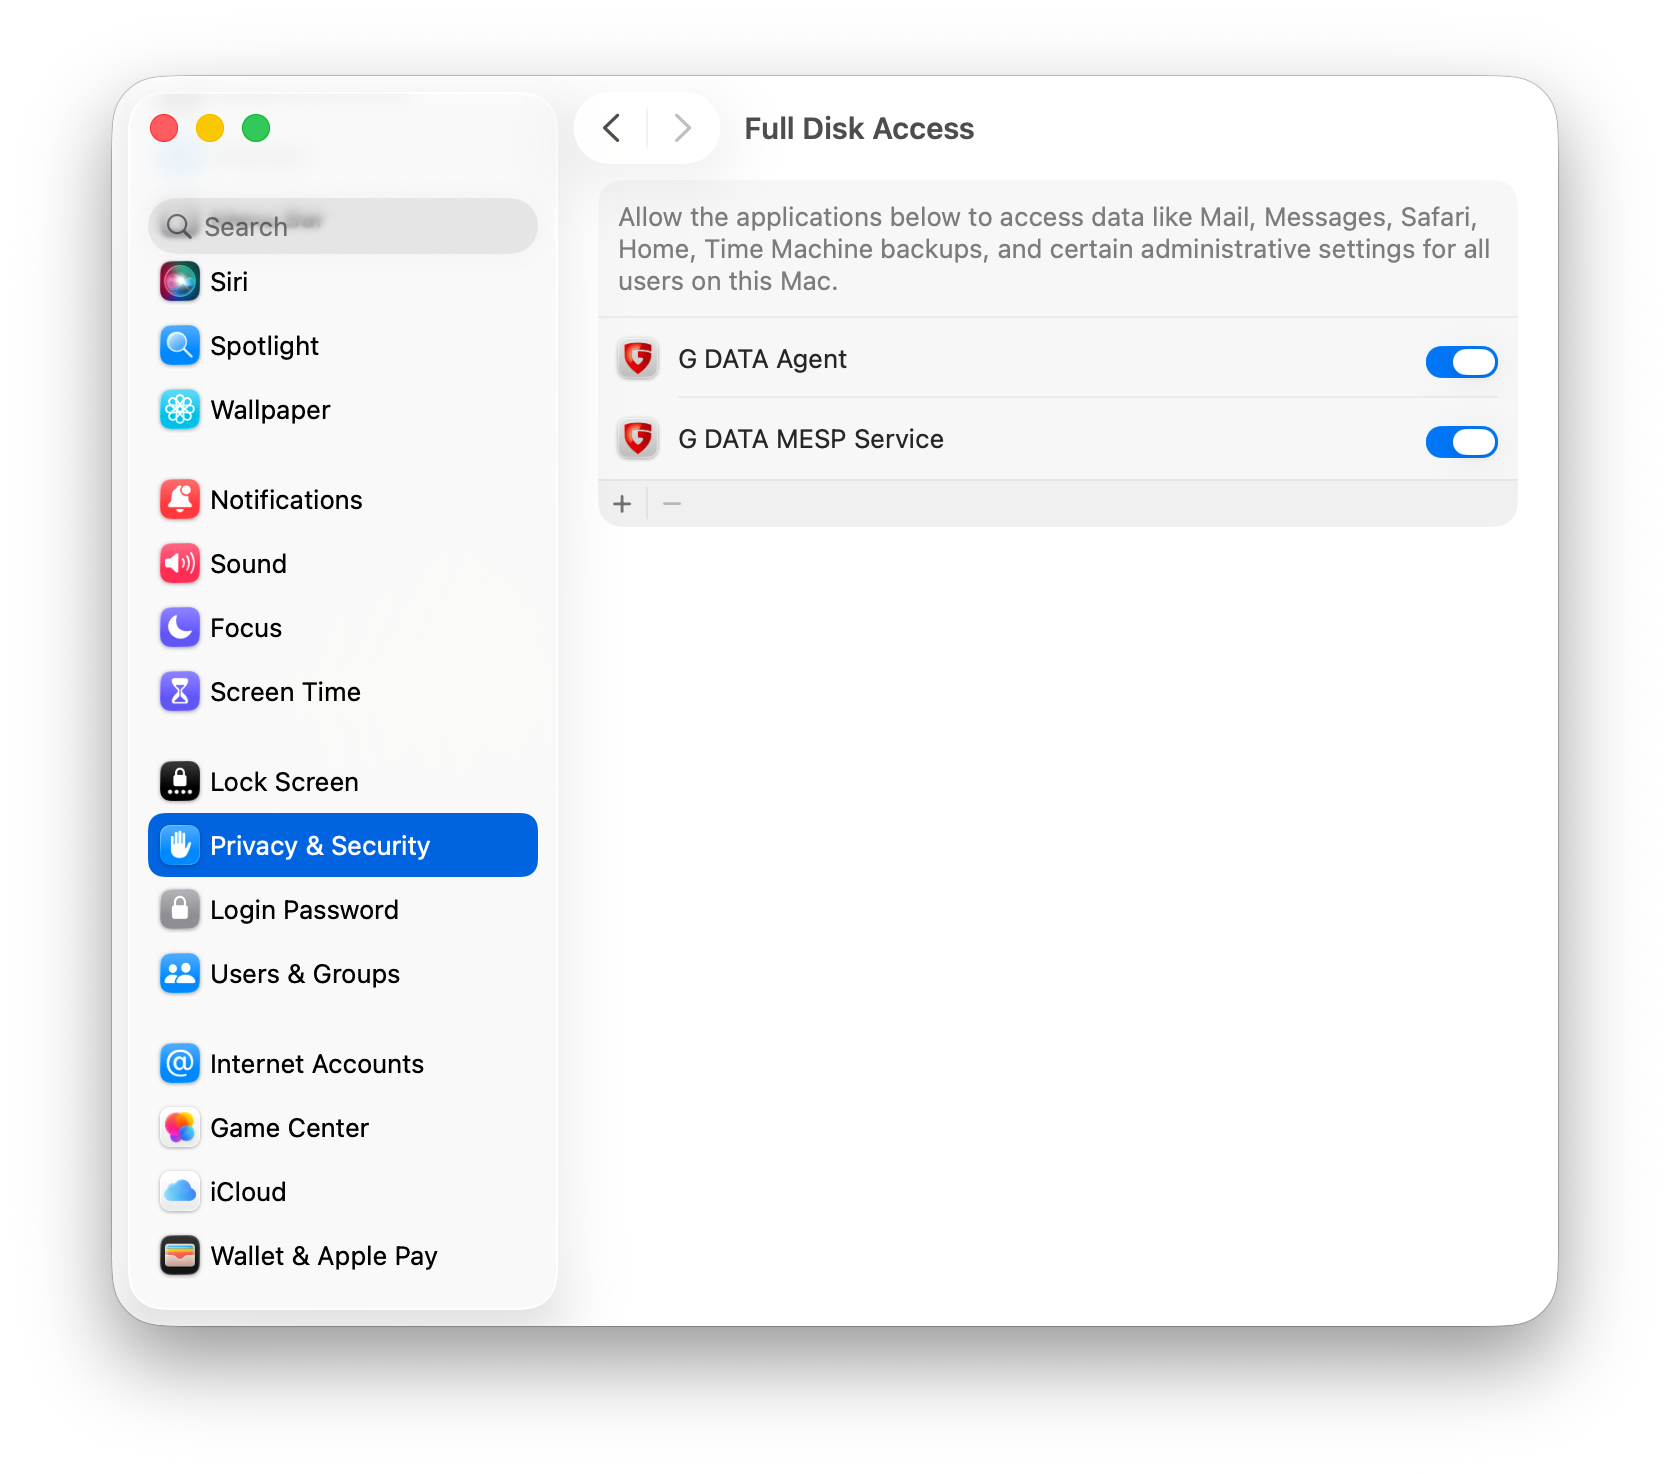
You must now grant Full Disk Access (FDA) to "G DATA Agent" and "G DATA MESP Service". To do so, go to "Privacy & Security" in Settings and set the corresponding toggle for both applications. |
|
||
9 |
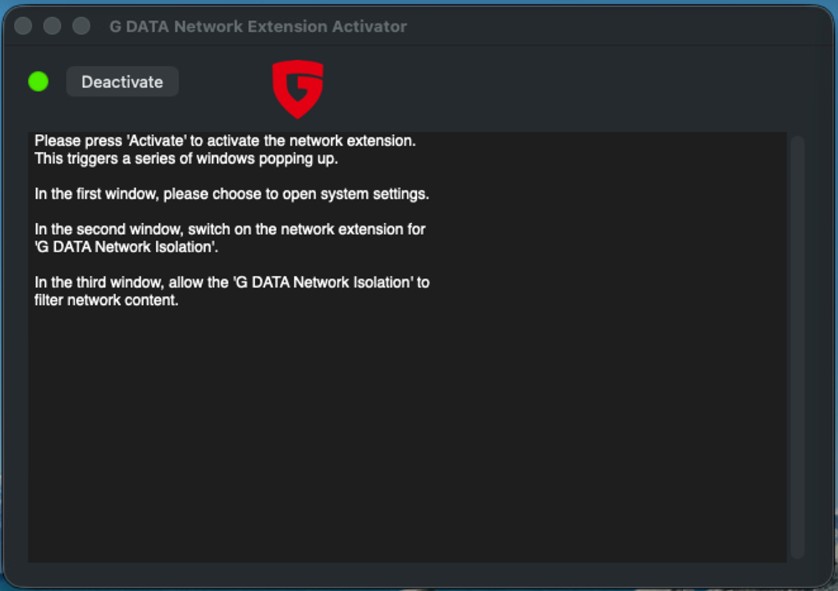
Enable "G DATA Network Isolation" in the General settings. You may be prompted to do so via a pop-up window. If this does not happen, go to General settings yourself, locate the entry "G DATA Network Isolation", and enable it by clicking the information icon (see screenshot). |

|
||
10 |
This completes the installation and setup of the G DATA Agent. |
|||
Installation via command line
1 |
Download the installation file either from the G DATA Web Portal in the view "Installing New Endpoints", or via direct download here. |
|
2 |
At the location of the installation file, a file named gdata.agent.cfg must be present or created, with the following content: Substitute "setupid" with your Setup ID (including the quotation marks), which you can view in the G DATA Web Portal in the view "Installing New Endpoints". Except for this entry, all entries are optional and must be created only if a proxy server is to be configured. |
|
3 |
Now open the command line. |
|
4 |
Enter the following command: |
|
5 |
Now grant Full Disk Access (FDA) to the applications "G DATA Agent" and "G DATA MESP service". To do so, open "Privacy & Security" in Settings and set the corresponding toggles. |
|
6 |
Enable "G DATA Network Isolation" in the General settings. You may be prompted to do so via a pop-up window. If this does not happen, go to General settings yourself, locate the entry "G DATA Network Isolation", and enable it by clicking the information icon (see screenshot). |
|
7 |
The installation is complete after the command has been executed successfully. |
|
Accessibility of the G DATA Cloud
To ensure reliable and timely alerting of events and Incidents, the G DATA Cloud must be reachable and must not be blocked by a firewall. The settings listed below are required for this. It must be ensured that *.gdatasecurity.de and *.gdatasoftware.com can be resolved via DNS and are reachable.
-
Port openings
-
The G DATA agents on the Endpoints must be able to reach the IPs of our backend servers via port TCP/443, IP range 194.156.84.0/22 (194.156.84.0 - 194.156.87.255).
-
-
Protocols
-
The systems must be able to communicate using the HTTPS:// and WSS:// protocols.
-
-
TLS
-
Deployed proxy servers must support at least TLS 1.2.
-
SSL Inspection or Deep Packet Inspection must not be enabled.
-
It must be possible to establish a TLS-encrypted connection to chess.gdatasecurity.de. For this, an appropriate root certificate must be available.
-