G DATA 365 | MXDR
Uninstalling the agent on a Microsoft Windows system
1 |
Log in to the G DATA Web Portal. |
2 |
Open the detail panel of the endpoint you want to remove by opening the Endpoints page via 365 Managed XDR > Endpoints and clicking once on the endpoint. |
3 |
Click Uninstall agent. |
4 |
If you want to permanently remove the device from the monitoring, activate the checkbox Remove endpoint from the endpoint list now. If this is a temporary uninstallation of the agent, the endpoint can remain in the list so that the assignment to the organisation unit is retained. |
5 |
The agent is uninstalled as soon as the endpoint is accessible. |
Local Uninstallation
As an alternative to the method outlined above, you can also uninstall the endpoint locally. There are two ways to do this, via the Windows settings and via the command line.
Uninstallation via Windows settings
Show details
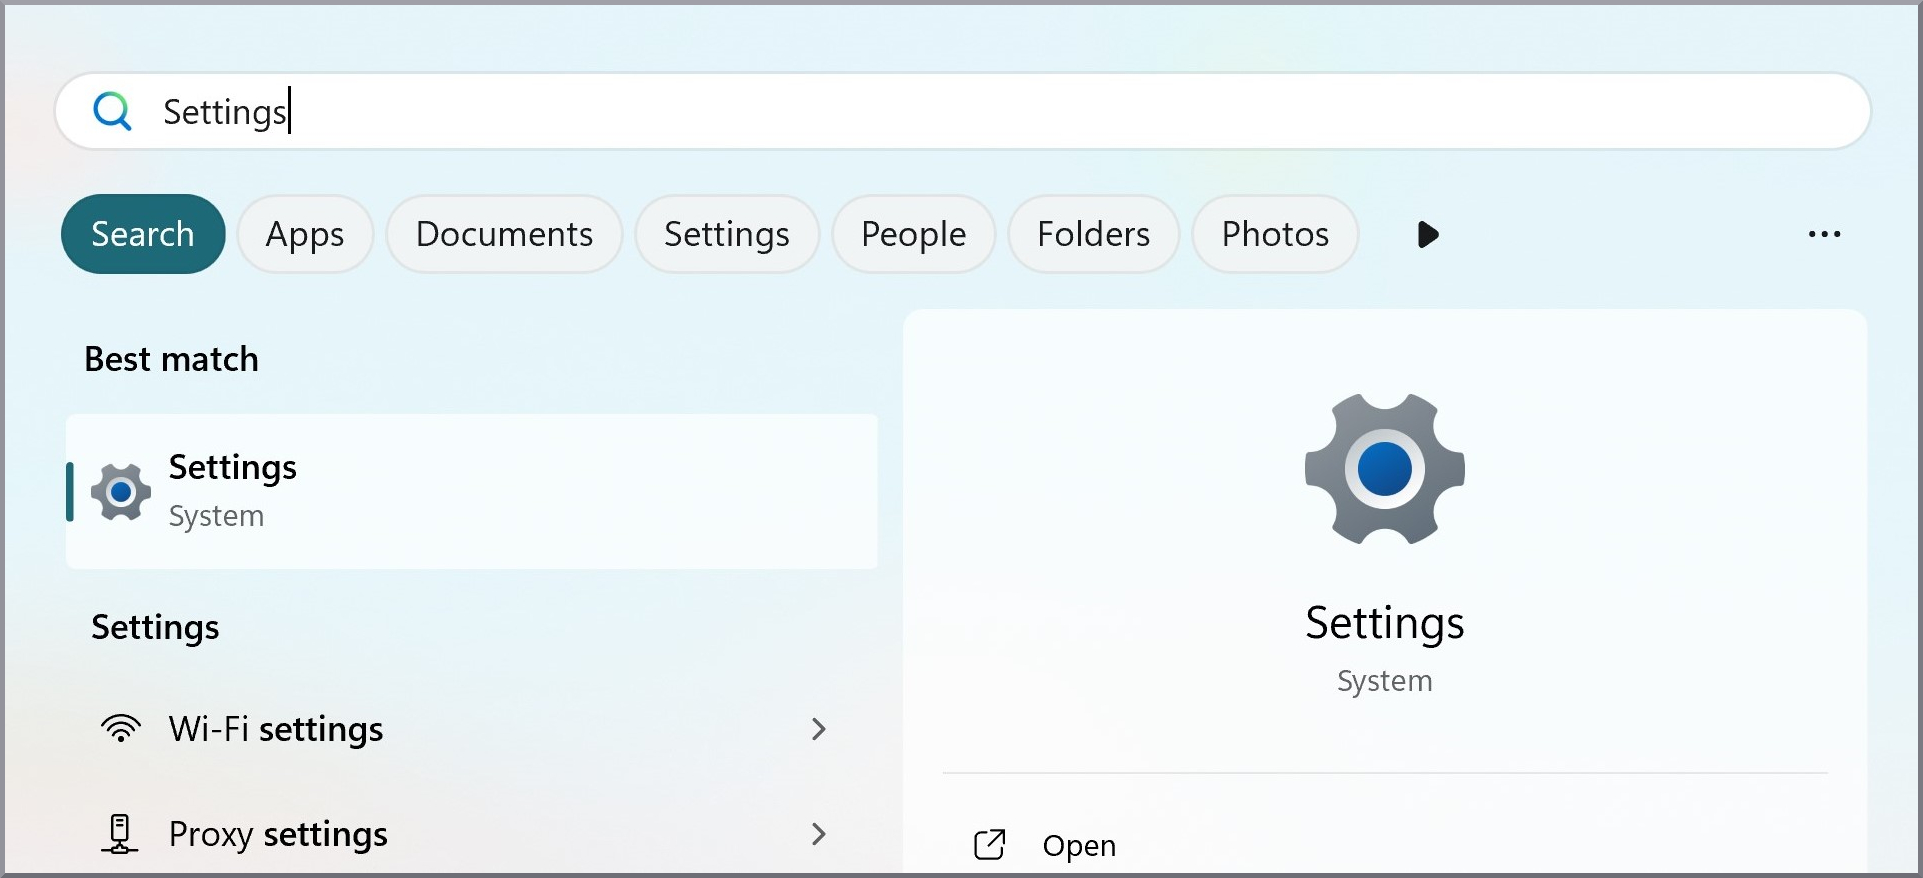
1 |
Open the Windows settings. |
|
2 |
Select Apps and open Installed apps. |

|
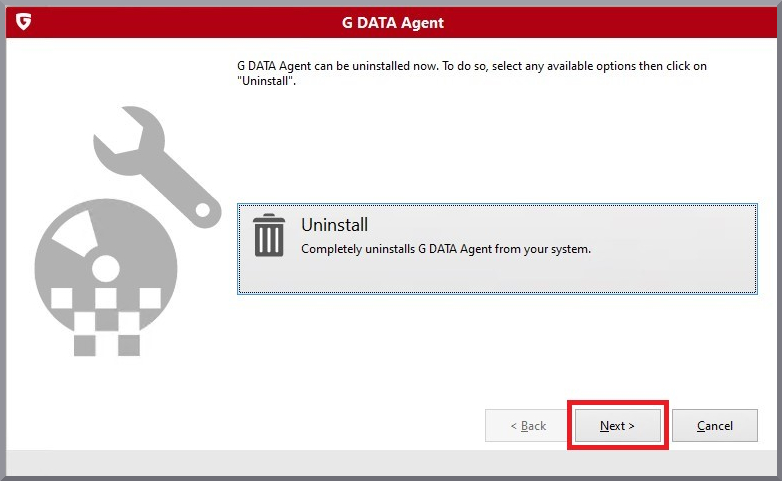
3 |
Go to the G DATA Agent entry and select Uninstall from the context menu. This will start the agent’s uninstall routine. |

|
4 |
In the window that opens, click Next and then confirm the uninstallation. |
|
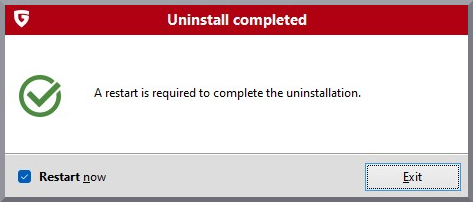
5 |
Restart the system to complete the uninstallation. |
|
Uninstallation via command line
Show details
1 |
Open the command line tool in the installation path. By default, this is "C:\ProgramData\G Data\Setups\G DATA Agent".
|
||
2 |
Run the following command. setup.exe /u /s |
||
3 |
After uninstalling, the G DATA Agent is removed from the system. Finally, restart the system. |