G DATA 365 | Mail Protection
Assign a certificate to G DATA 365 | Mail Protection
To secure the communication between G DATA 365 | Mail Protection and Microsoft Exchange Online, we recommend using a certificate. To secure the communication, a certificate with a PublicKey and a PrivateKey is required.
| The file with the PublicKey is stored in your Microsoft Entra Admin Portal for the G DATA 365 | Mail Protection, the PrivateKey is stored in your G DATA Web-Portal. |
Creating a self-signed certificate with Powershell under Windows
1. |
Open Powershell on your local computer with administrator permissions. |
||||||
2. |
Use cd to change to the directory C:\ and enter the following command: We have given the certificate the name MailProtection. You can change this name, as it can be freely assigned.
|
||||||
3. |
Use the following command to export the PublikKey to a location from which you can later upload the files:
|
||||||
4. |
Assign a password for the PrivateKey with the following command:
|
||||||
5. |
Use the following command to export the PrivateKey to a location from which you can later upload the files:
|
||||||
6. |
Now use these commands to delete the two certificates from your computer’s personal certificate store. The certificate is not required here. Read out the ID of the certificate in the memory: Get-ChildItem -Path "Cert:\CurrentUser\My" | Where-Object {$_.Subject -Match "MailProtection"} | Select-Object Thumbprint, FriendlyName
Delete the certificate using the ID:
|
Upload certificate for the G DATA 365 | Mail Protection in the Microsoft Entra Admin Portal
1. |
|
2. |
Under Applications→App registrations→G DATA Mail Protection, click on Add a certificate or secret. Screenshot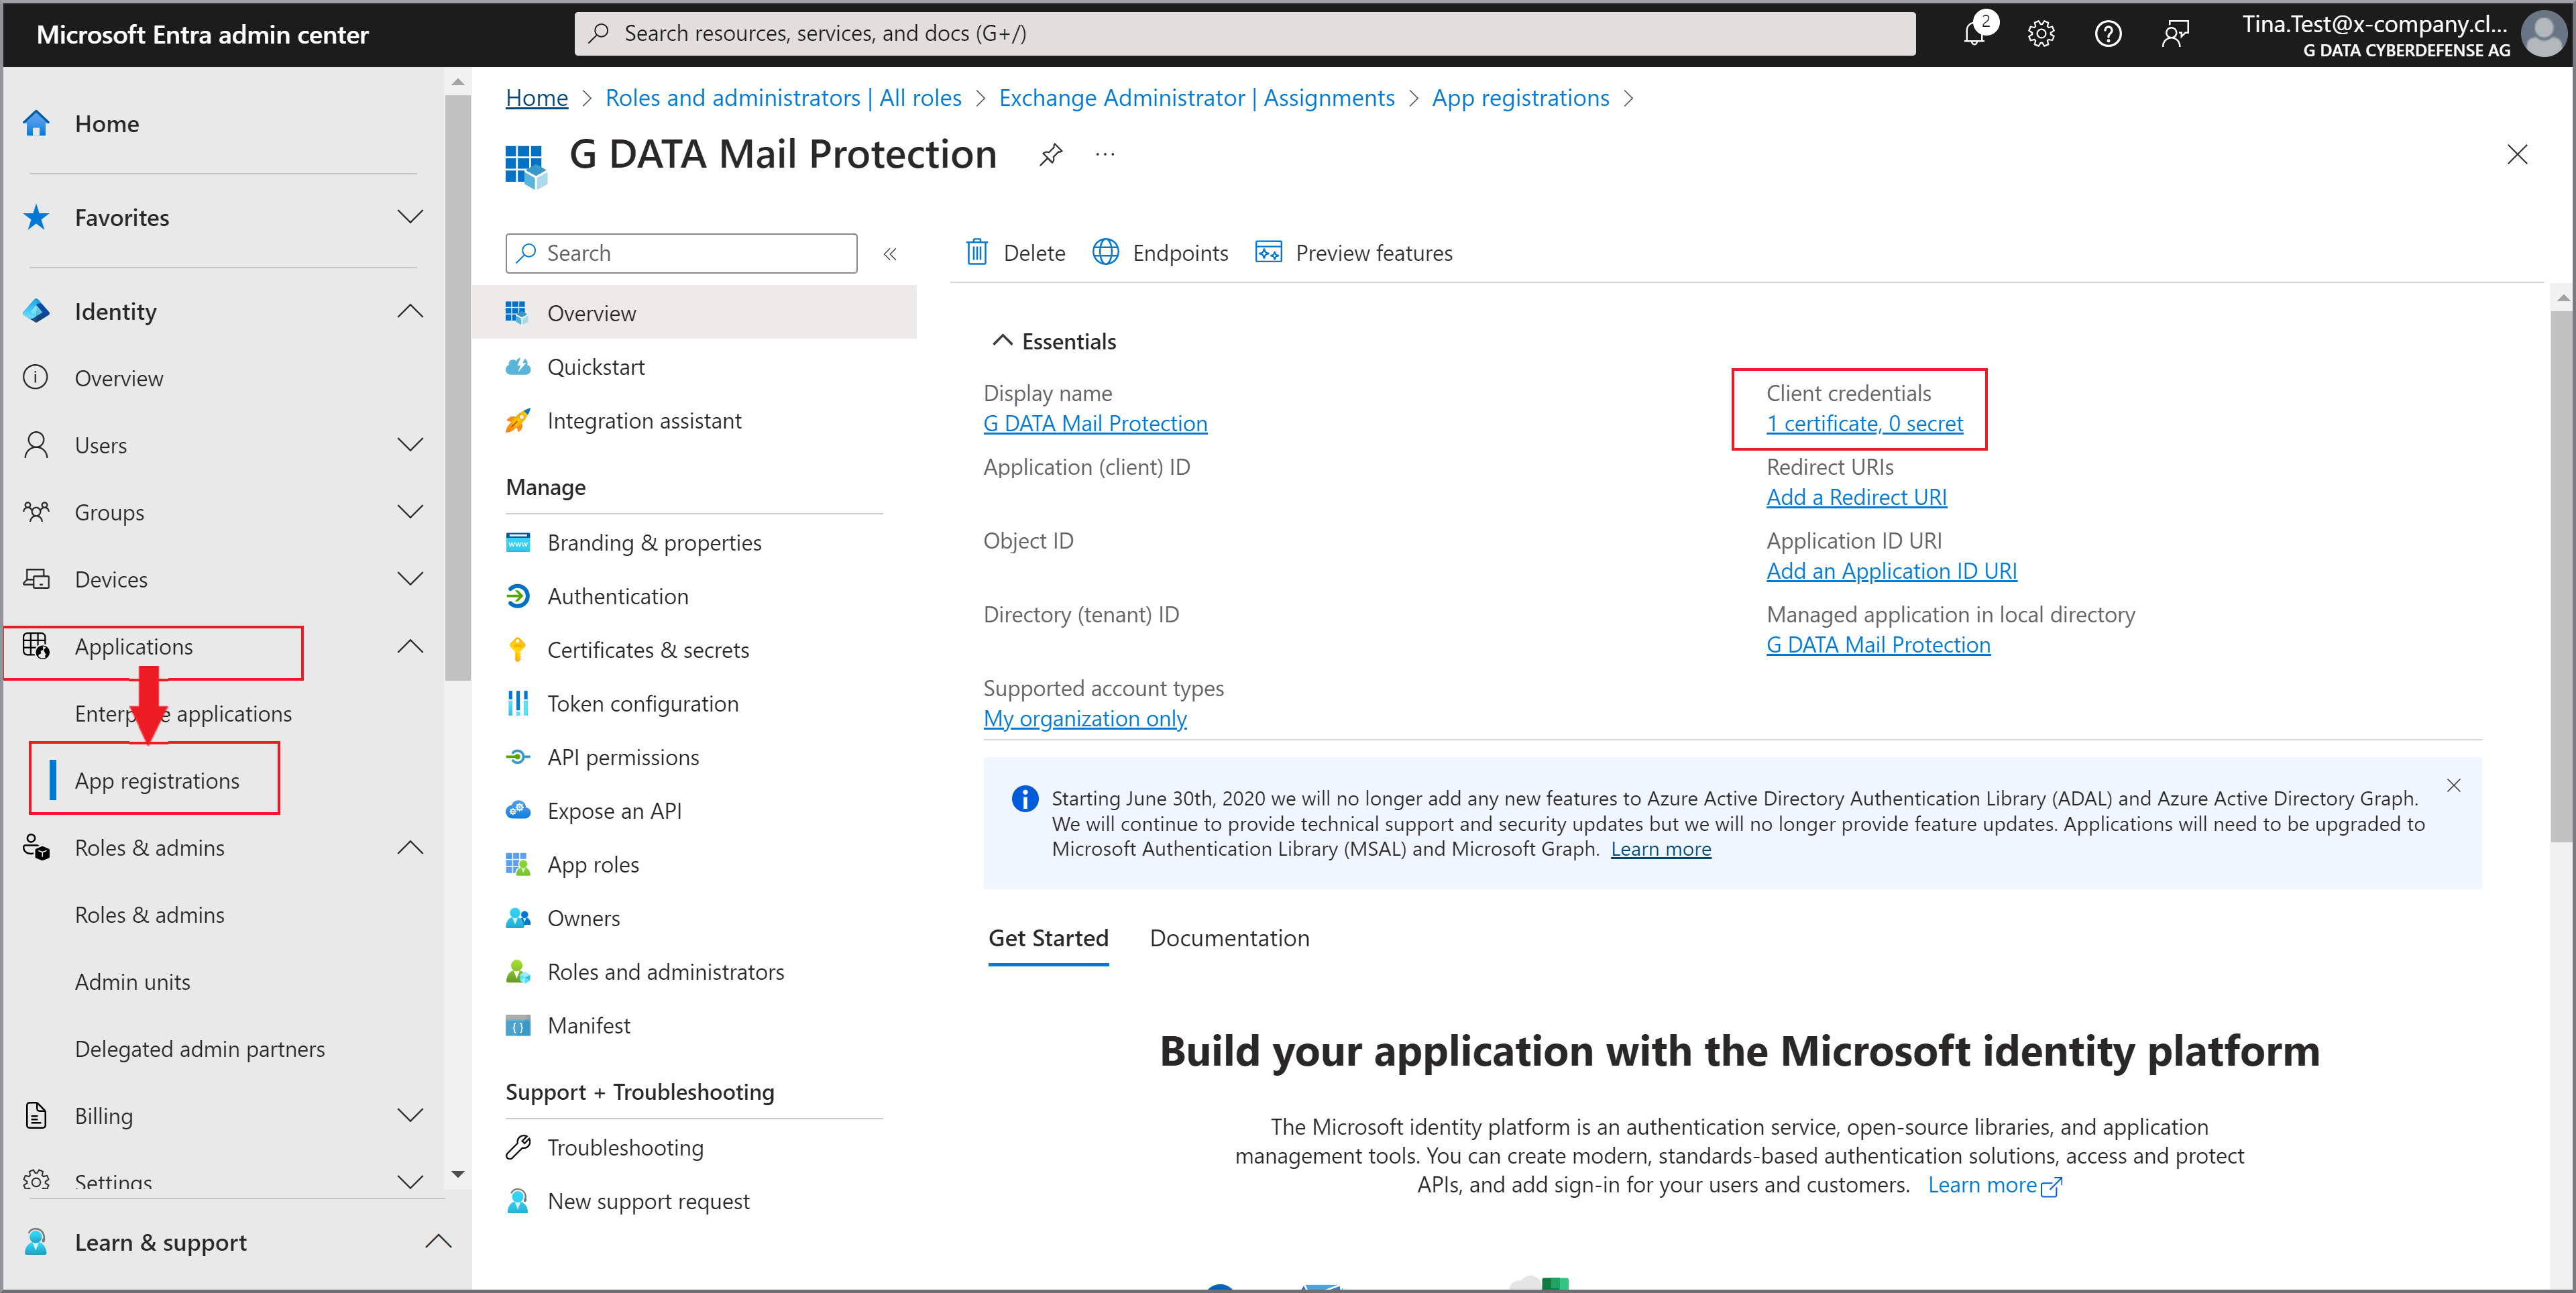
|
3. |
Click on Certificates and then on Upload certificate. Screenshot
|
4. |
Upload the certificate you created from the location where you saved it when you created it. Screenshot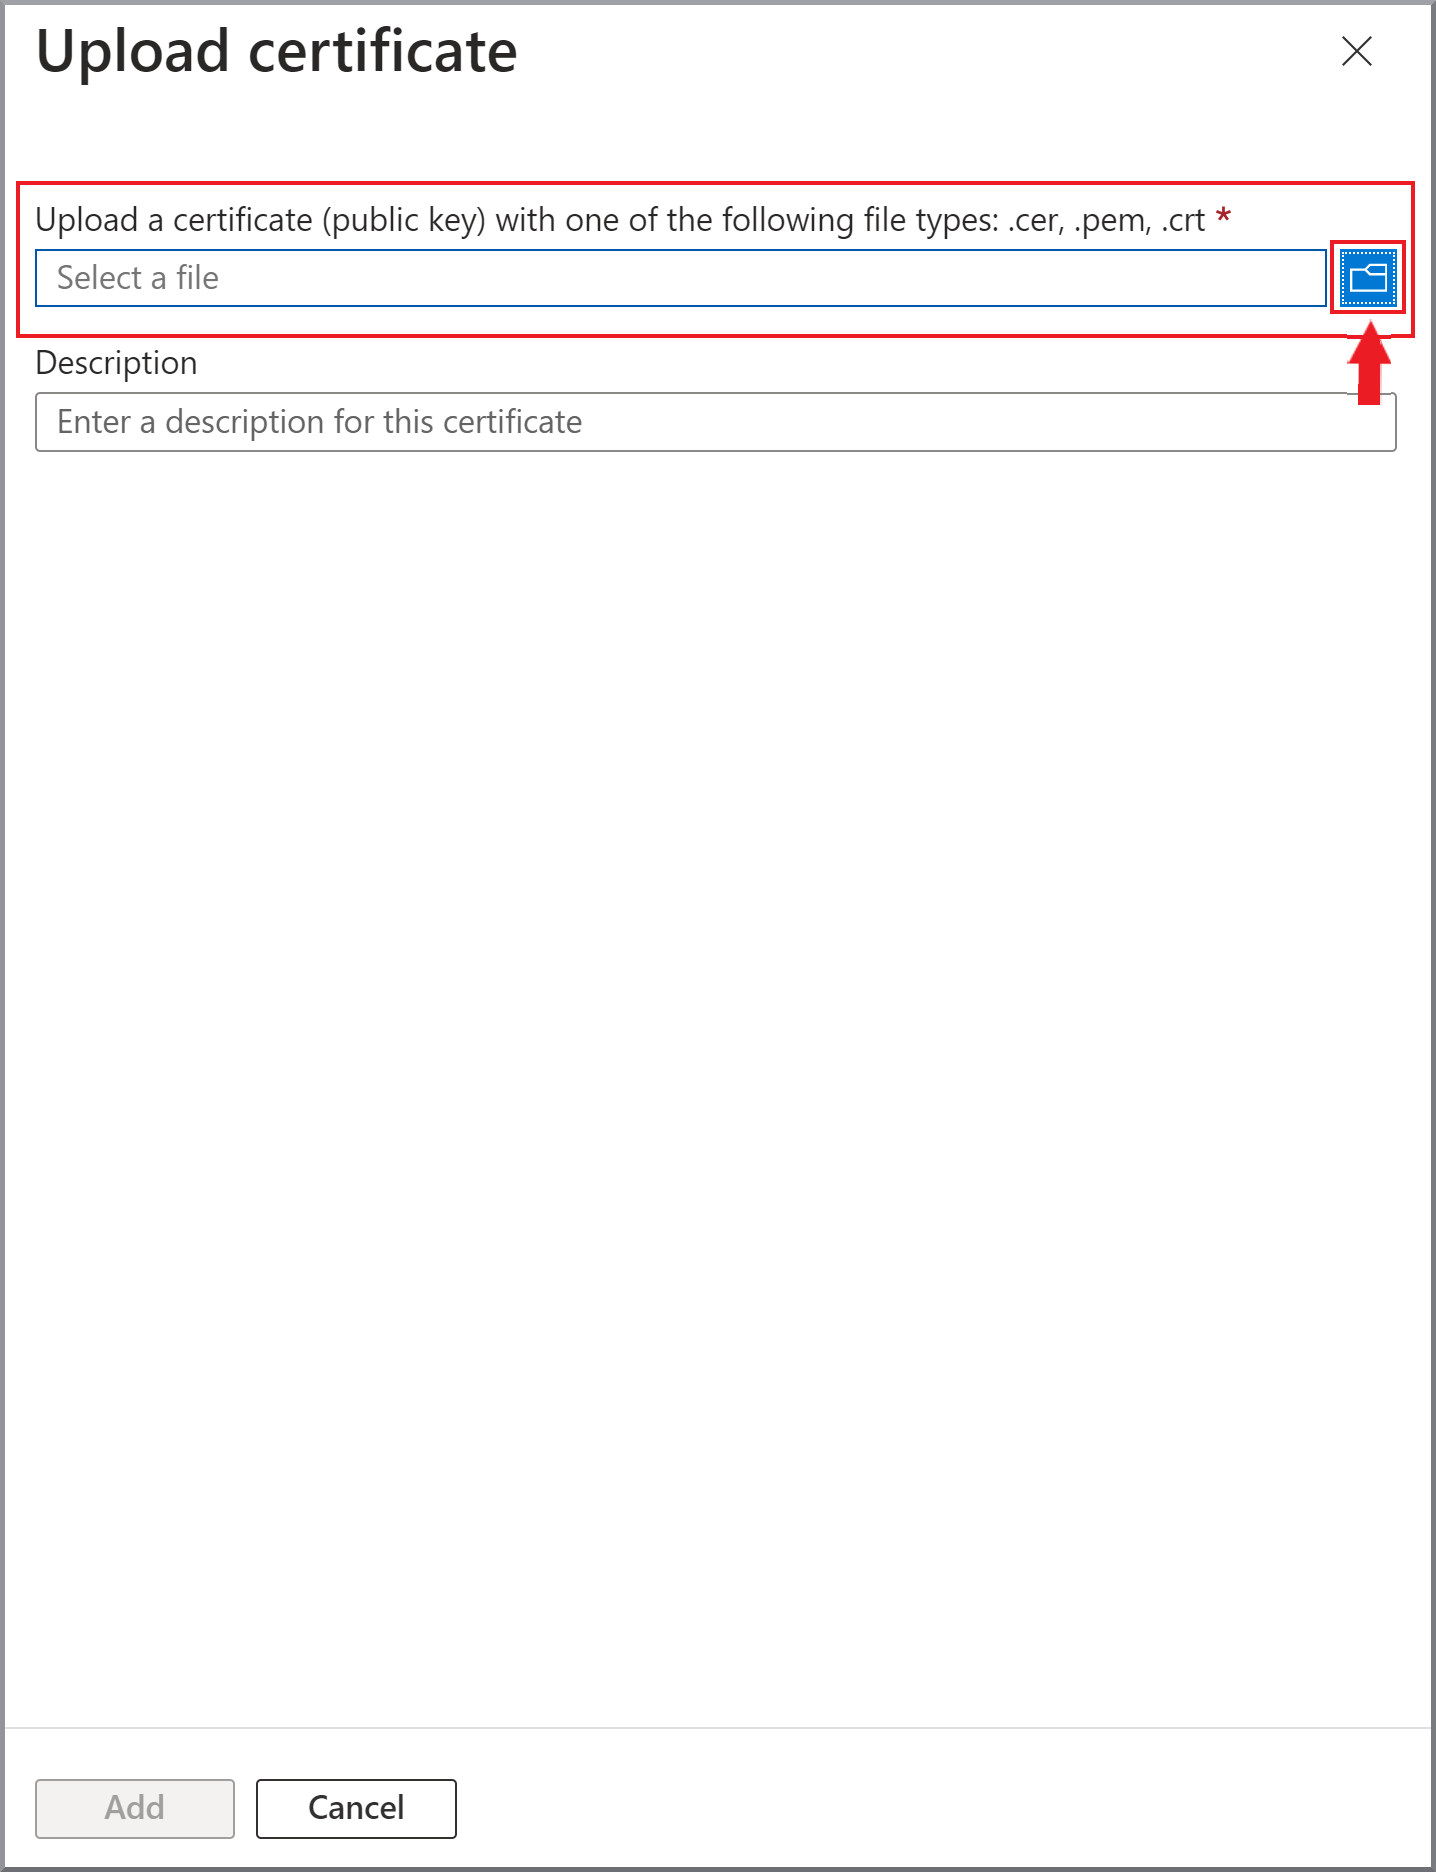
|
5. |
Enter a short description and click Add |