G DATA Phishing Simulation
The test mailing
In the G DATA Awareness Manager under the tab Whitelisting, you find the option to send a test mail to your specified e-mail addresses. This allows you to test whether the phishing mails sent by us later can pass through your security mechanisms.
1. |
First send the test mail by clicking the corresponding button in the interface of the G DATA Awareness Manager. Show screenshot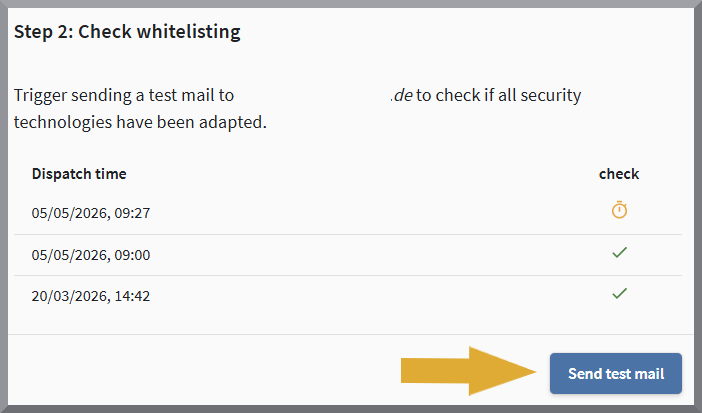
|
||
2. |
Close the G DATA Awareness Manager. Otherwise, for technical reasons, there may be problems verifying the e-mail. |
||
3. |
Open your mailbox via the Outlook Web Client (outlook.office.com) and check your inbox to see if you have received an email. |
||
4. |
Click on the e-mail once. Under no circumstances should the e-mail be opened by double-clicking on it, as our server would immediately recognize opening the e-mail as a security breach. As a result, verification is no longer possible.
|
||
5. |
If the verification code is not displayed because you have correctly blocked the downloading of images, Click the button Show Blocked Content. |
||
6. |
Click the Confirm Whitelisting button. |
||
7. |
Enter the code from the test email, confirm that the attachment was still present and then click Verify. Show screenshot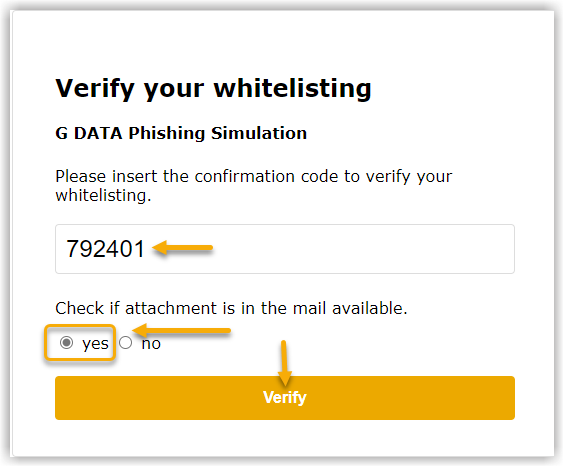
|
||
8. |
After step seven, the G DATA Awareness Manager login window opens.

|